DIY GLOBE TABLE NUMBERS

When our bride and groom wanted us to incorporate their love of travel into their wedding day we couldn't be more excited! Our creative juices started flowing. That is how these pretty little things came into play! Mini globe tables numbers, all hand painted... and sealed with the perfect vinyl number, designed by the amazingly talented ladies at Prim & Pixie. We were pretty happy with how they turned out! See our process below. Hope you like!! 

FullSizeRender.jpg

Photo by | Birds of a Feather

MATERIALS/SUPPLIES

- Globe (whatever style/size you desire)

- Spray Paint

- Stencils/Cut-Outs (the design with which you would like to paint on the globe)

- Pencils

- Gold Foil Paint (We used Martha Stewart gold gilding paint)

- Paint Brushes (of various sizes)

- Sealant Spray 

Frenchy seemed to like these a lot! :) 

STEPS

- Purchase Globe + Materials listed above

- Unscrew & detach the globe from the stand

- Spray paint the globe, color of your choosing (let dry for a day)

- Choose the design you would like to paint, and create a cut-out to trace

- Trace your design lightly with a pencil

- Paint your design onto the globe with your gold foil paint (let dry for a day)

- Place globe back onto it's stand (important to do this before you put the number decal on, so you know where to properly place it) 

- Stick your vinyl table number onto the globe (you can make your own with a Cricut Explore Machine, or use a graphic designer to make for you) 

VOILA!! 

GETTING CORPORATE IN LONDON

When one of our MOST favorite corporate client calls us and asks us to coordinate & design an event for them in London… we don’t hesitate to oblige! We love the challenge of exploring new territory and getting to work with new vendors. Learning all new industry jargon made it even more interesting! Seriously though… sometimes we had no idea what people were talking about, and vice versa! J

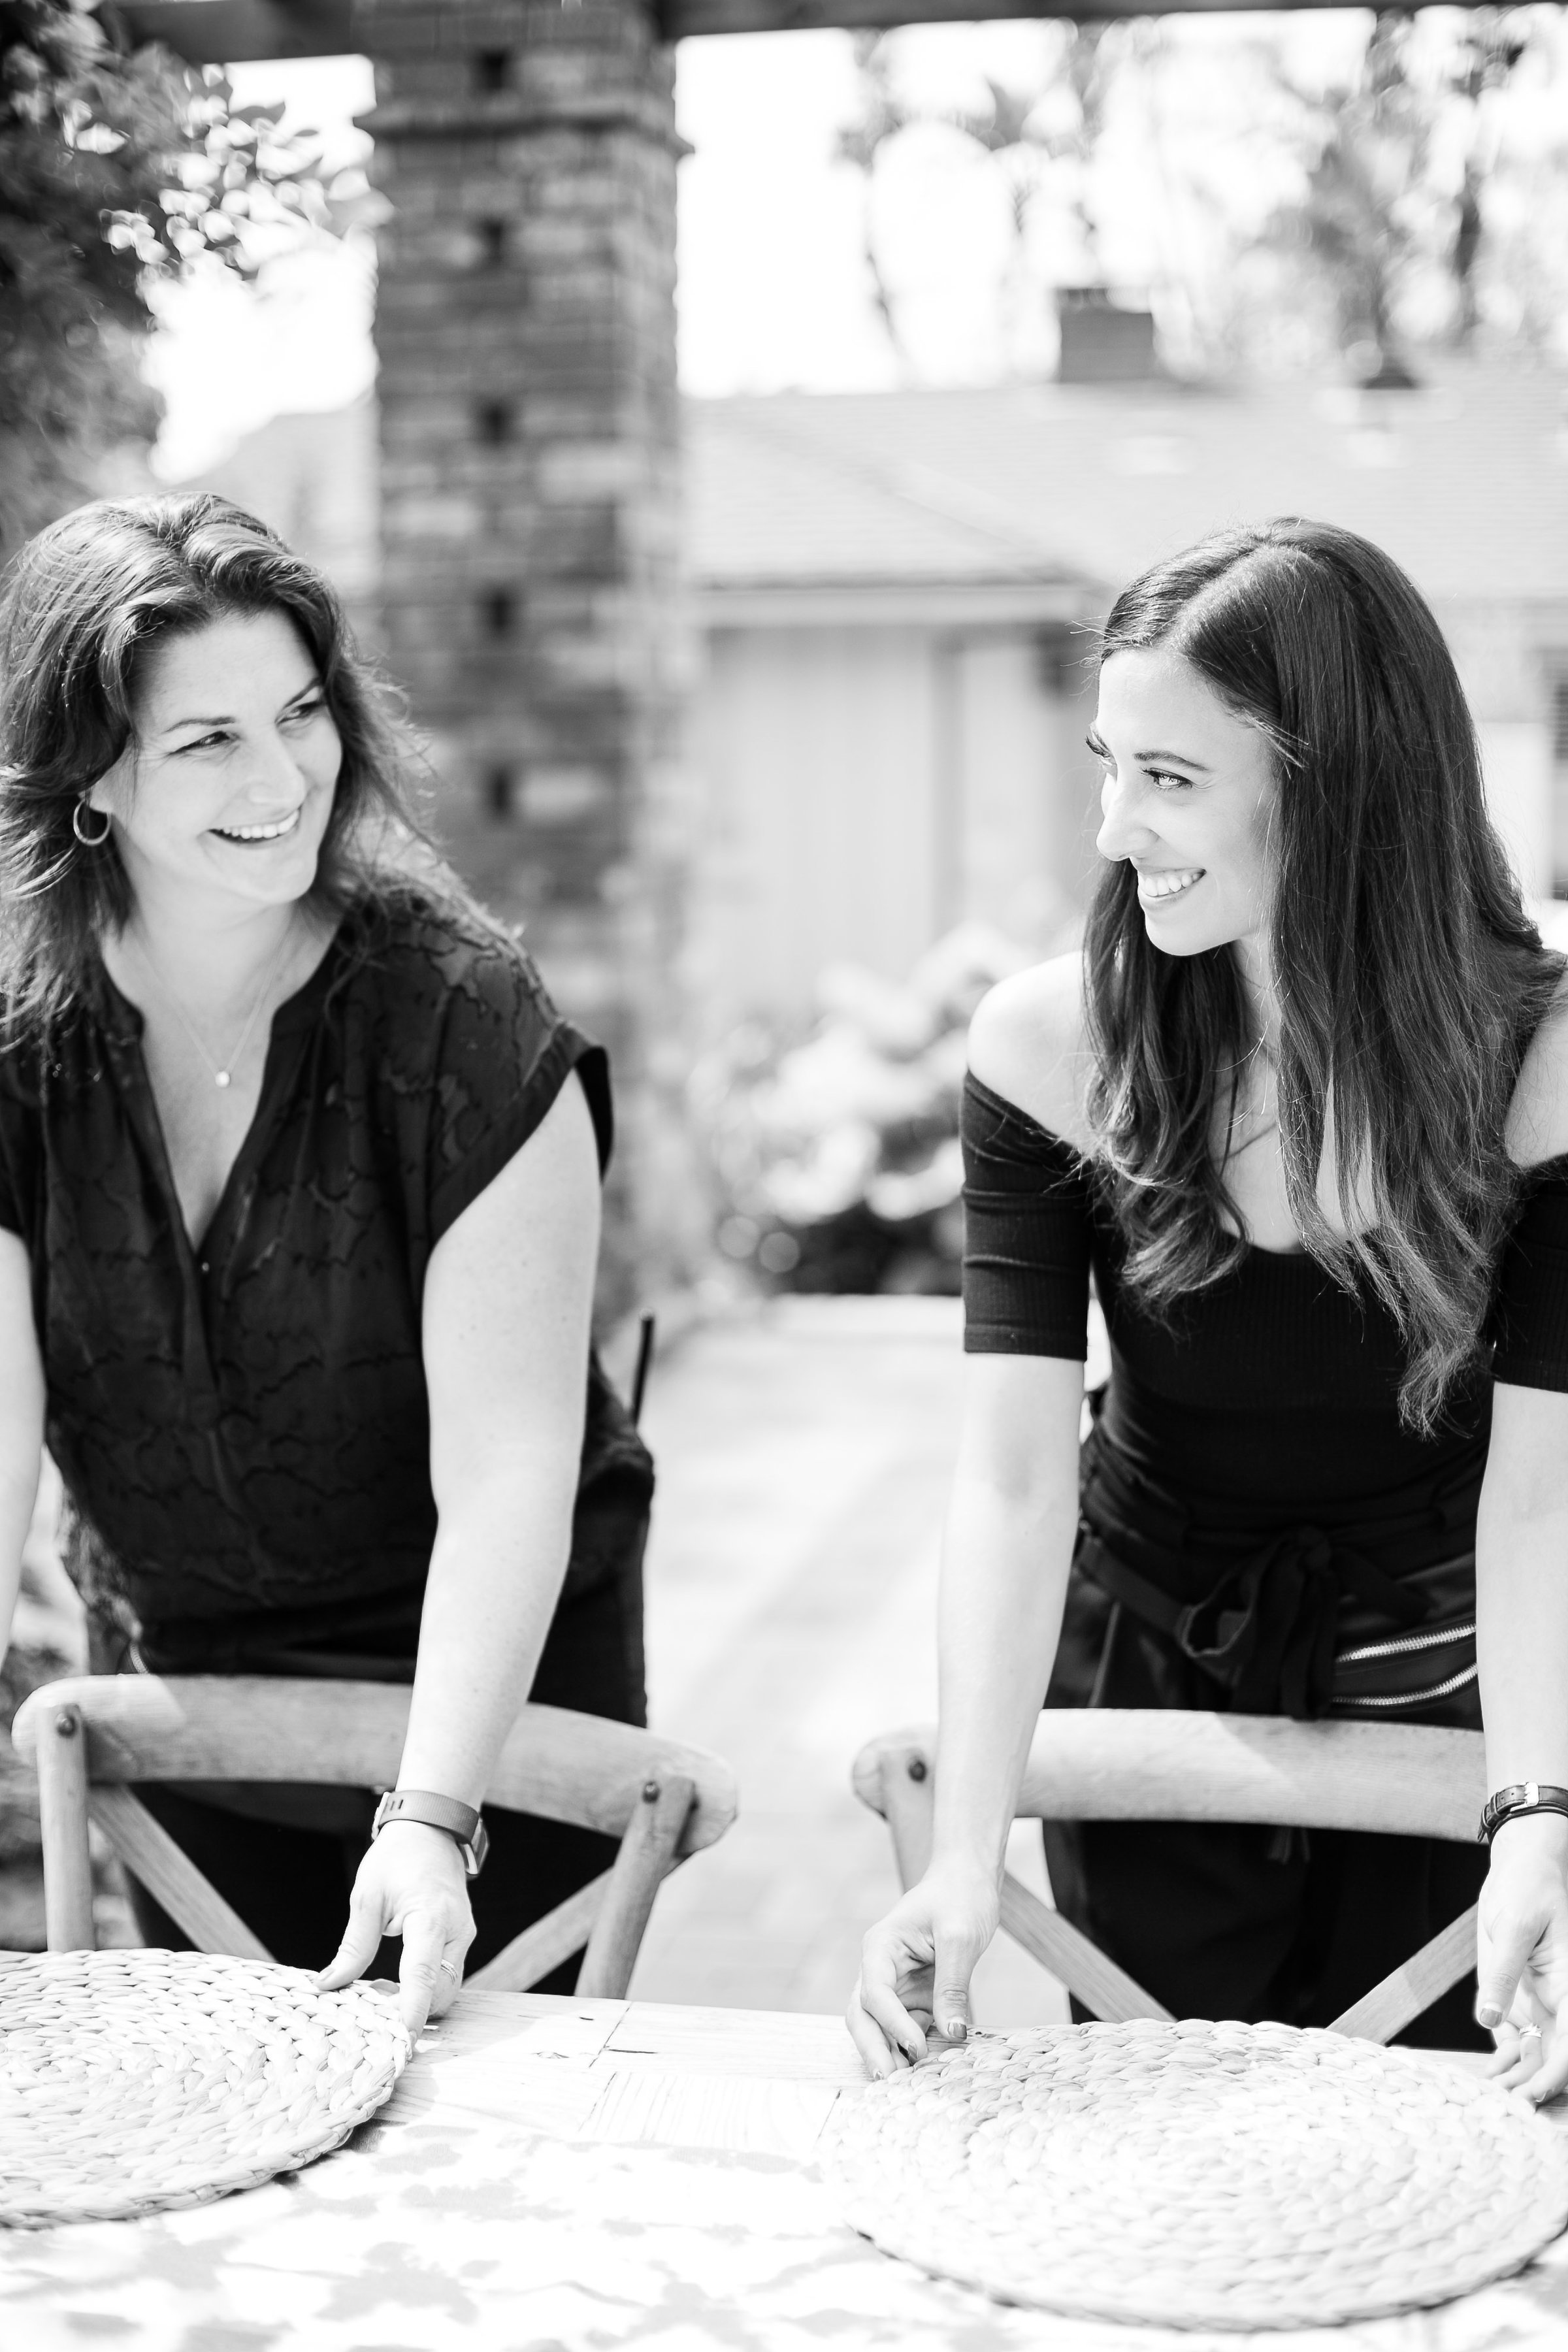
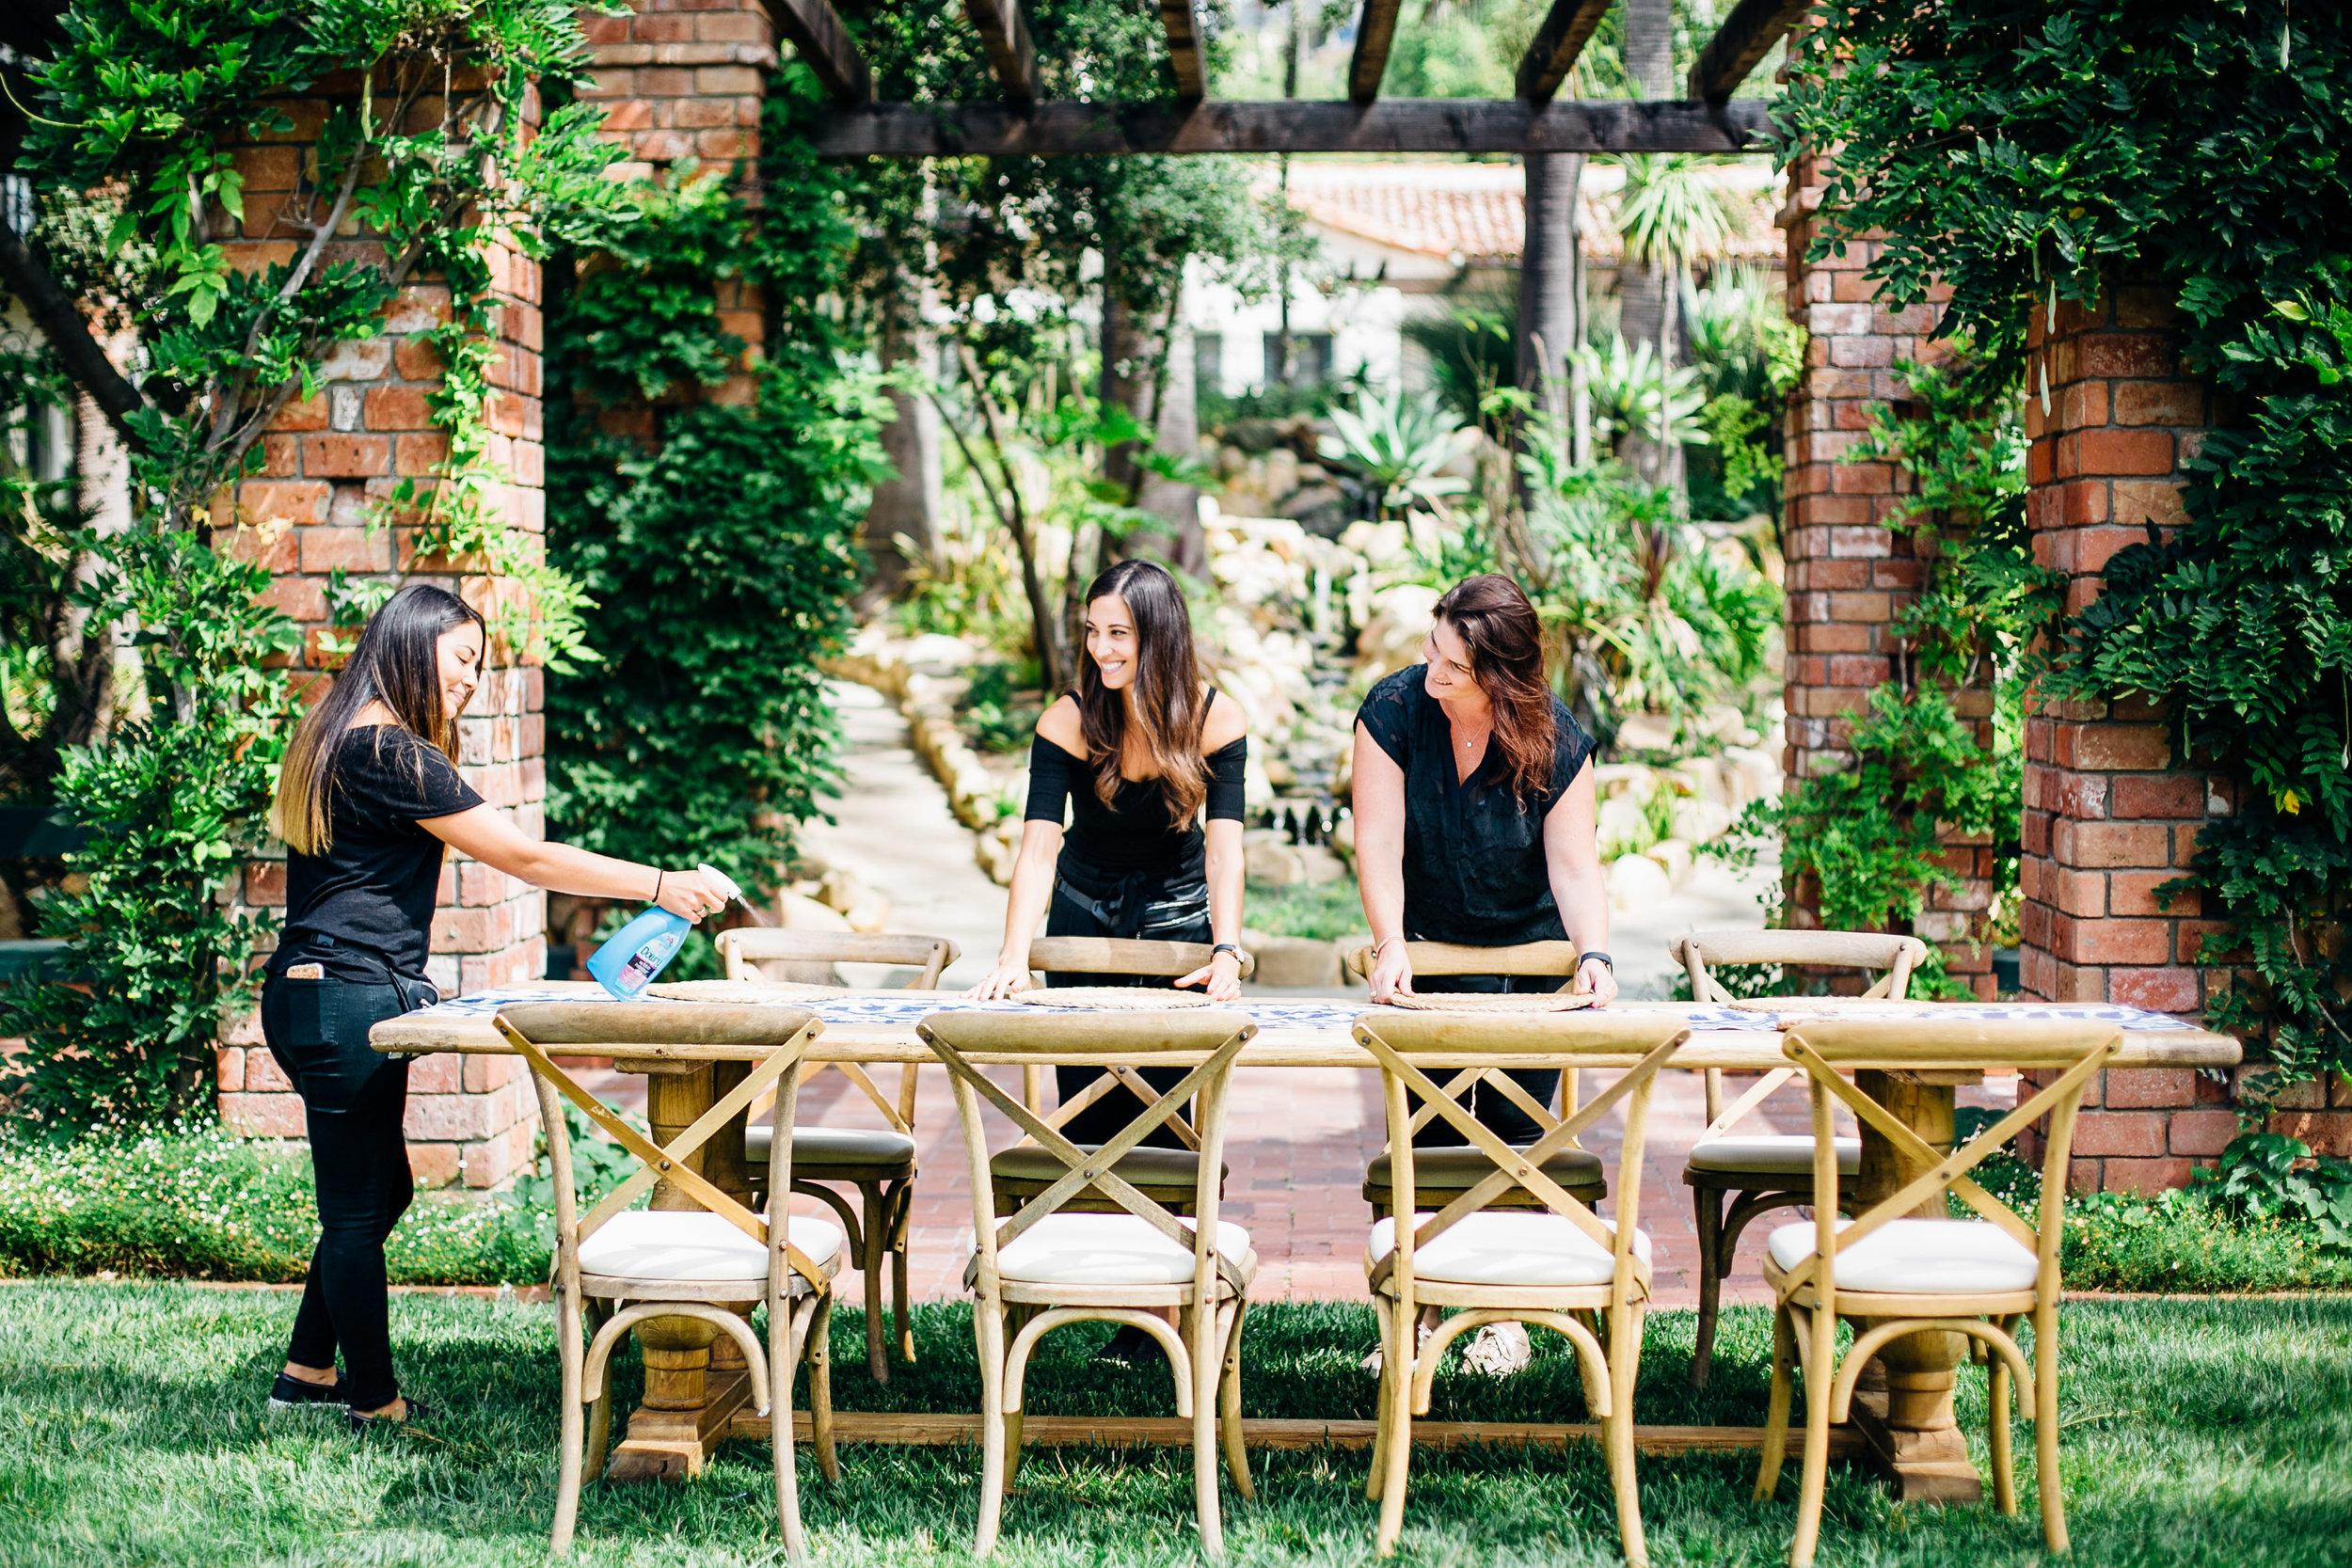
After hours, upon hours, upon hours, upon hours of research… we truly found our dream team! We had the pleasure of working with such talented and lovely vendors… who put up with our lengthy emails and endless questions, because as most of you know we are DETAILED beyond belief.

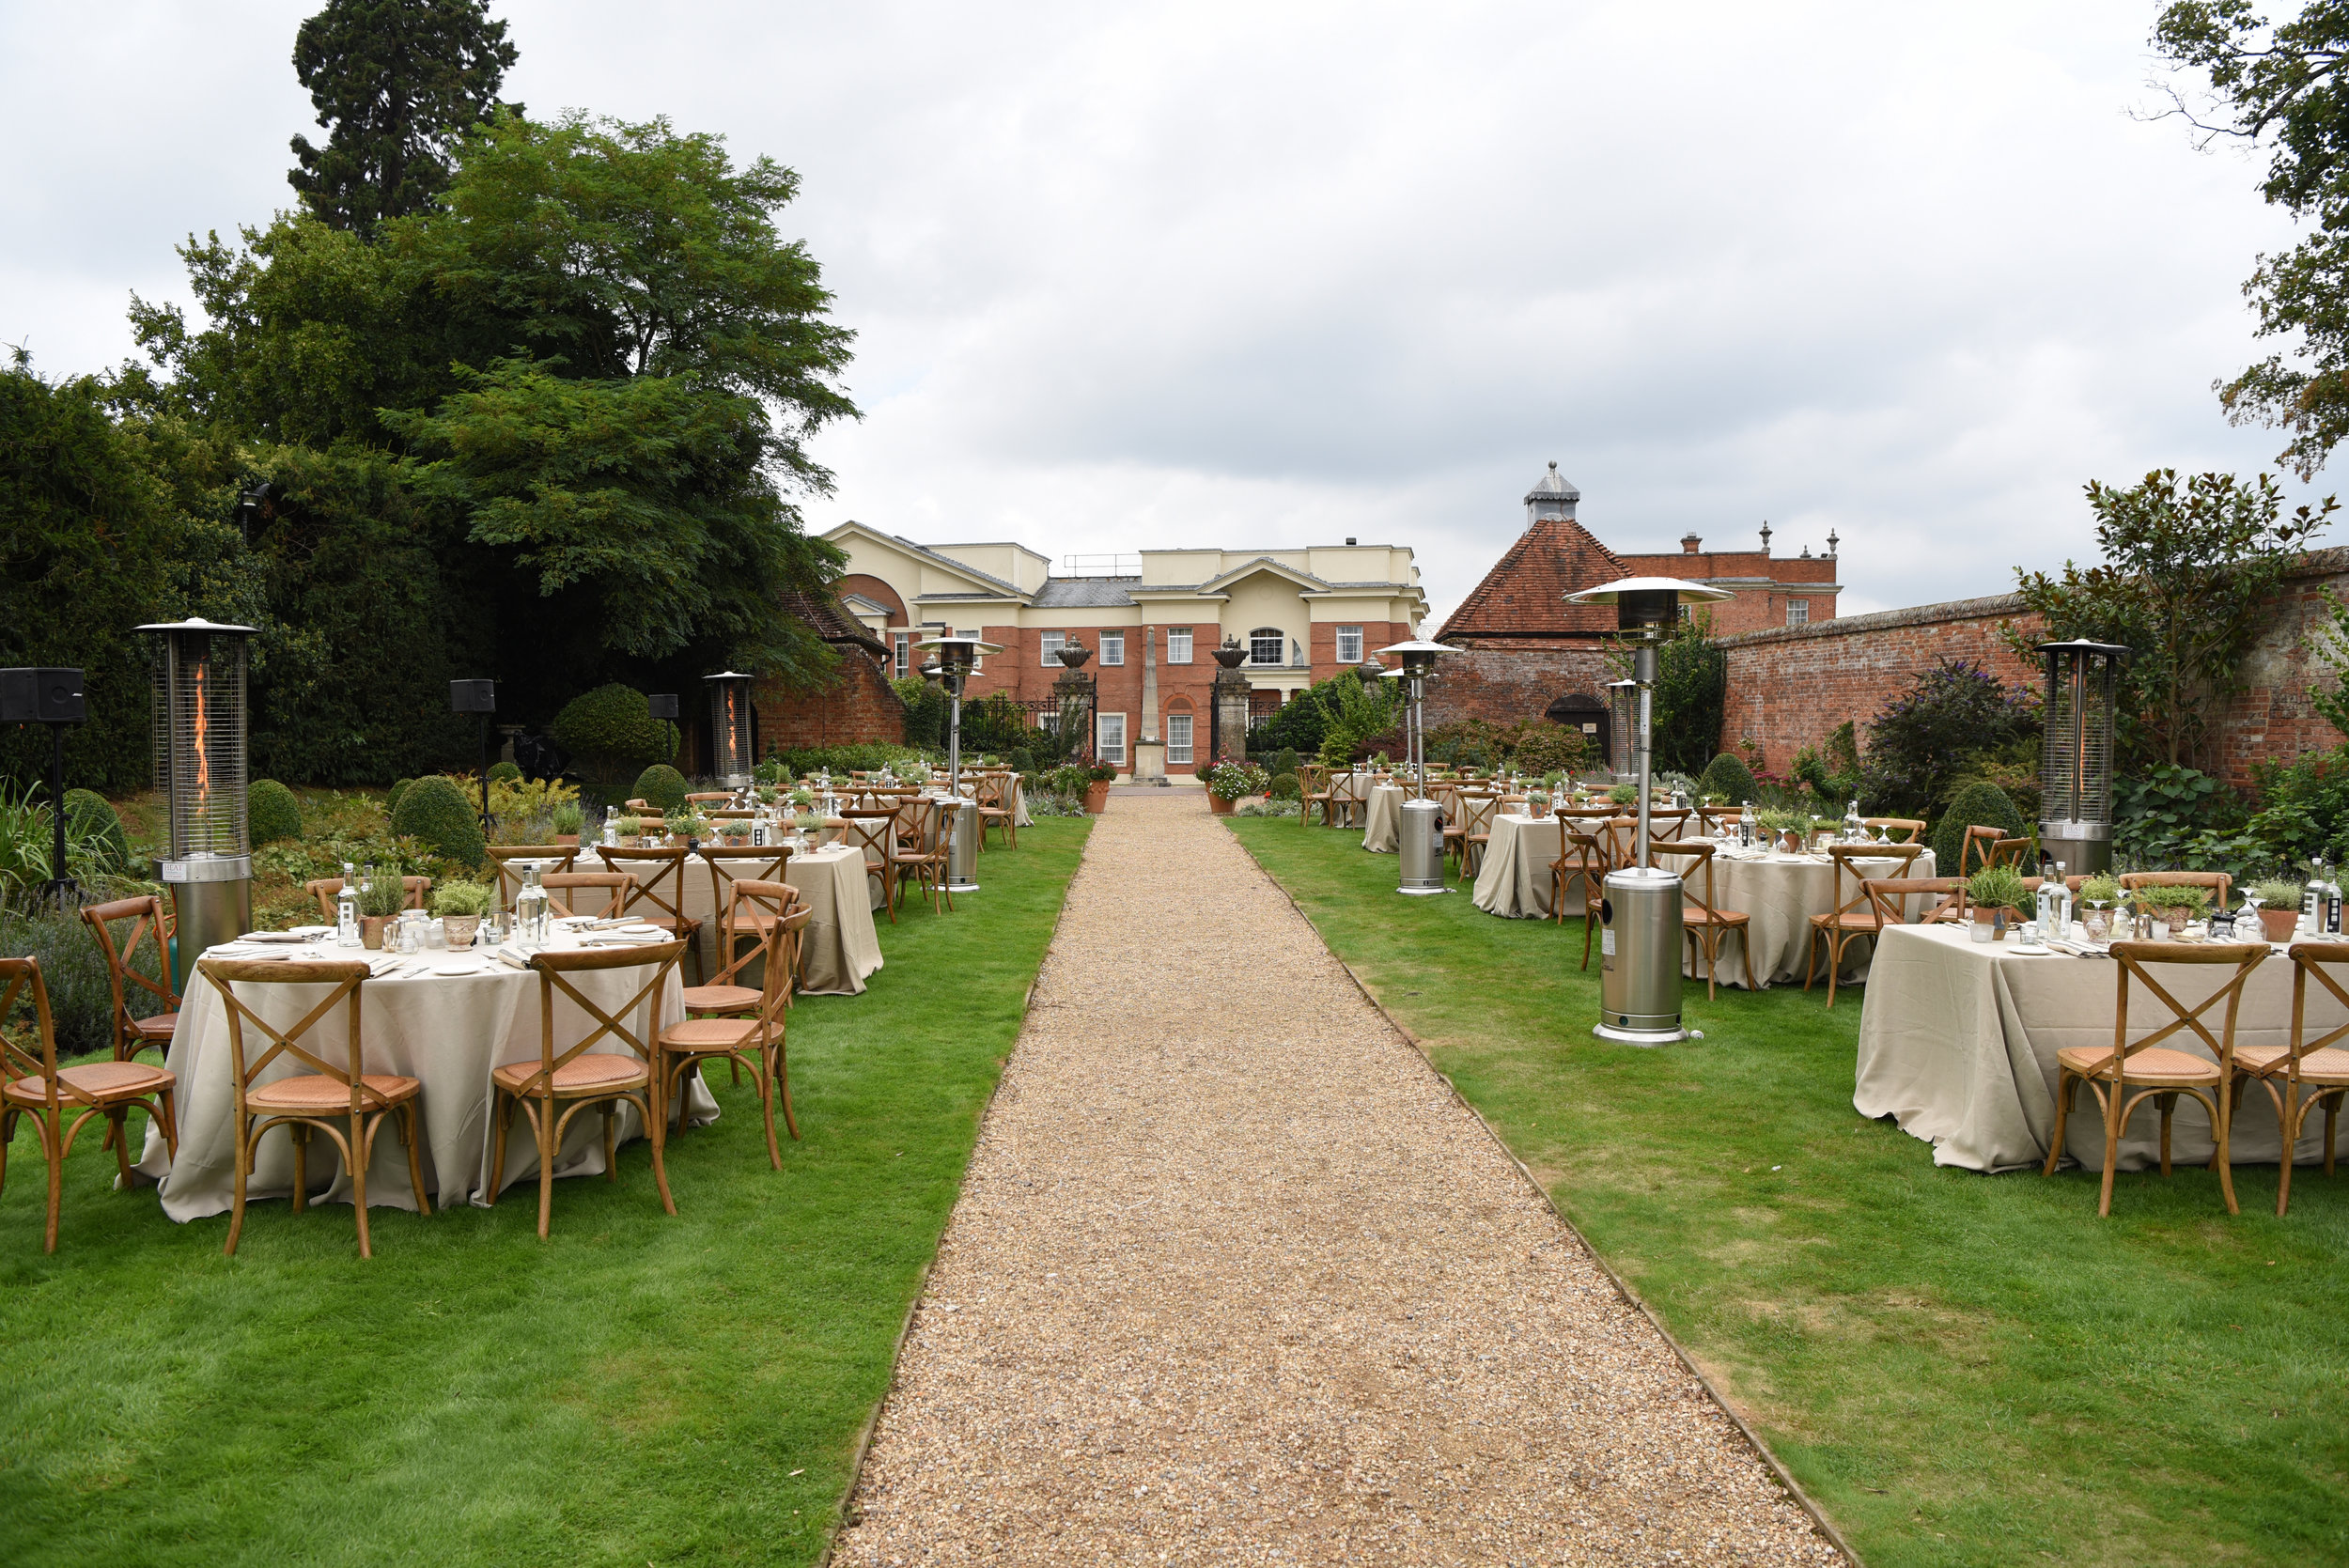
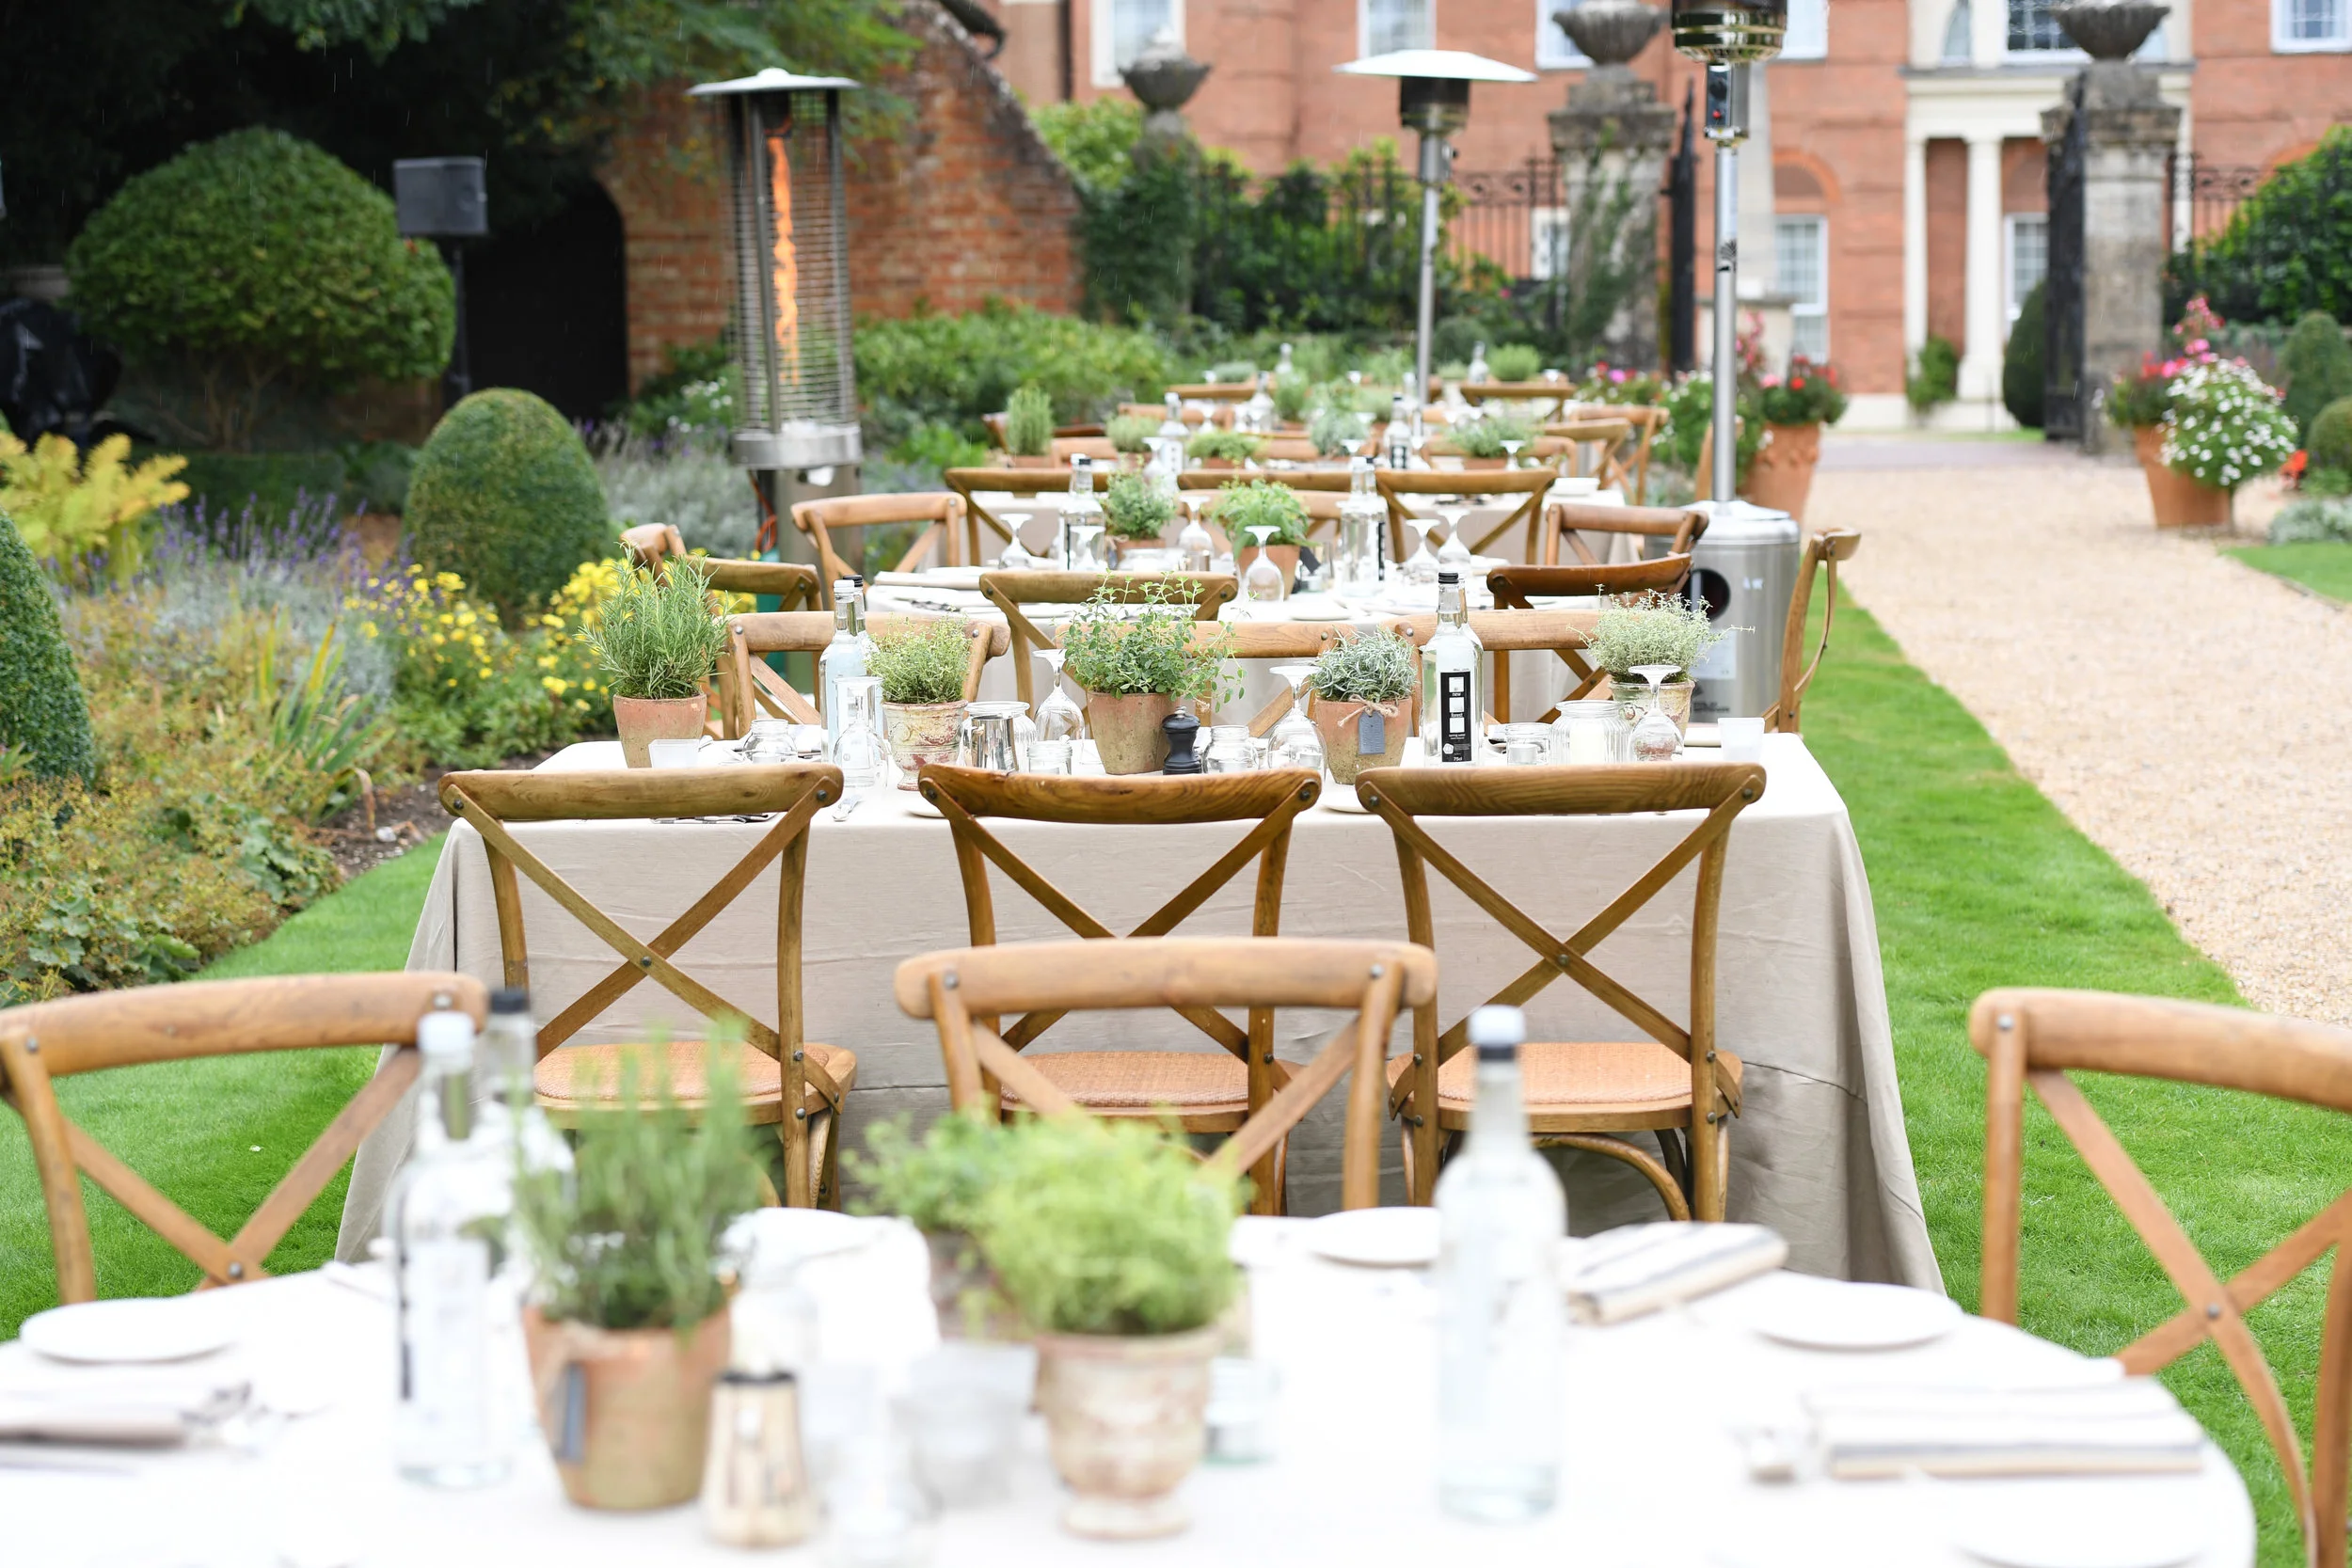
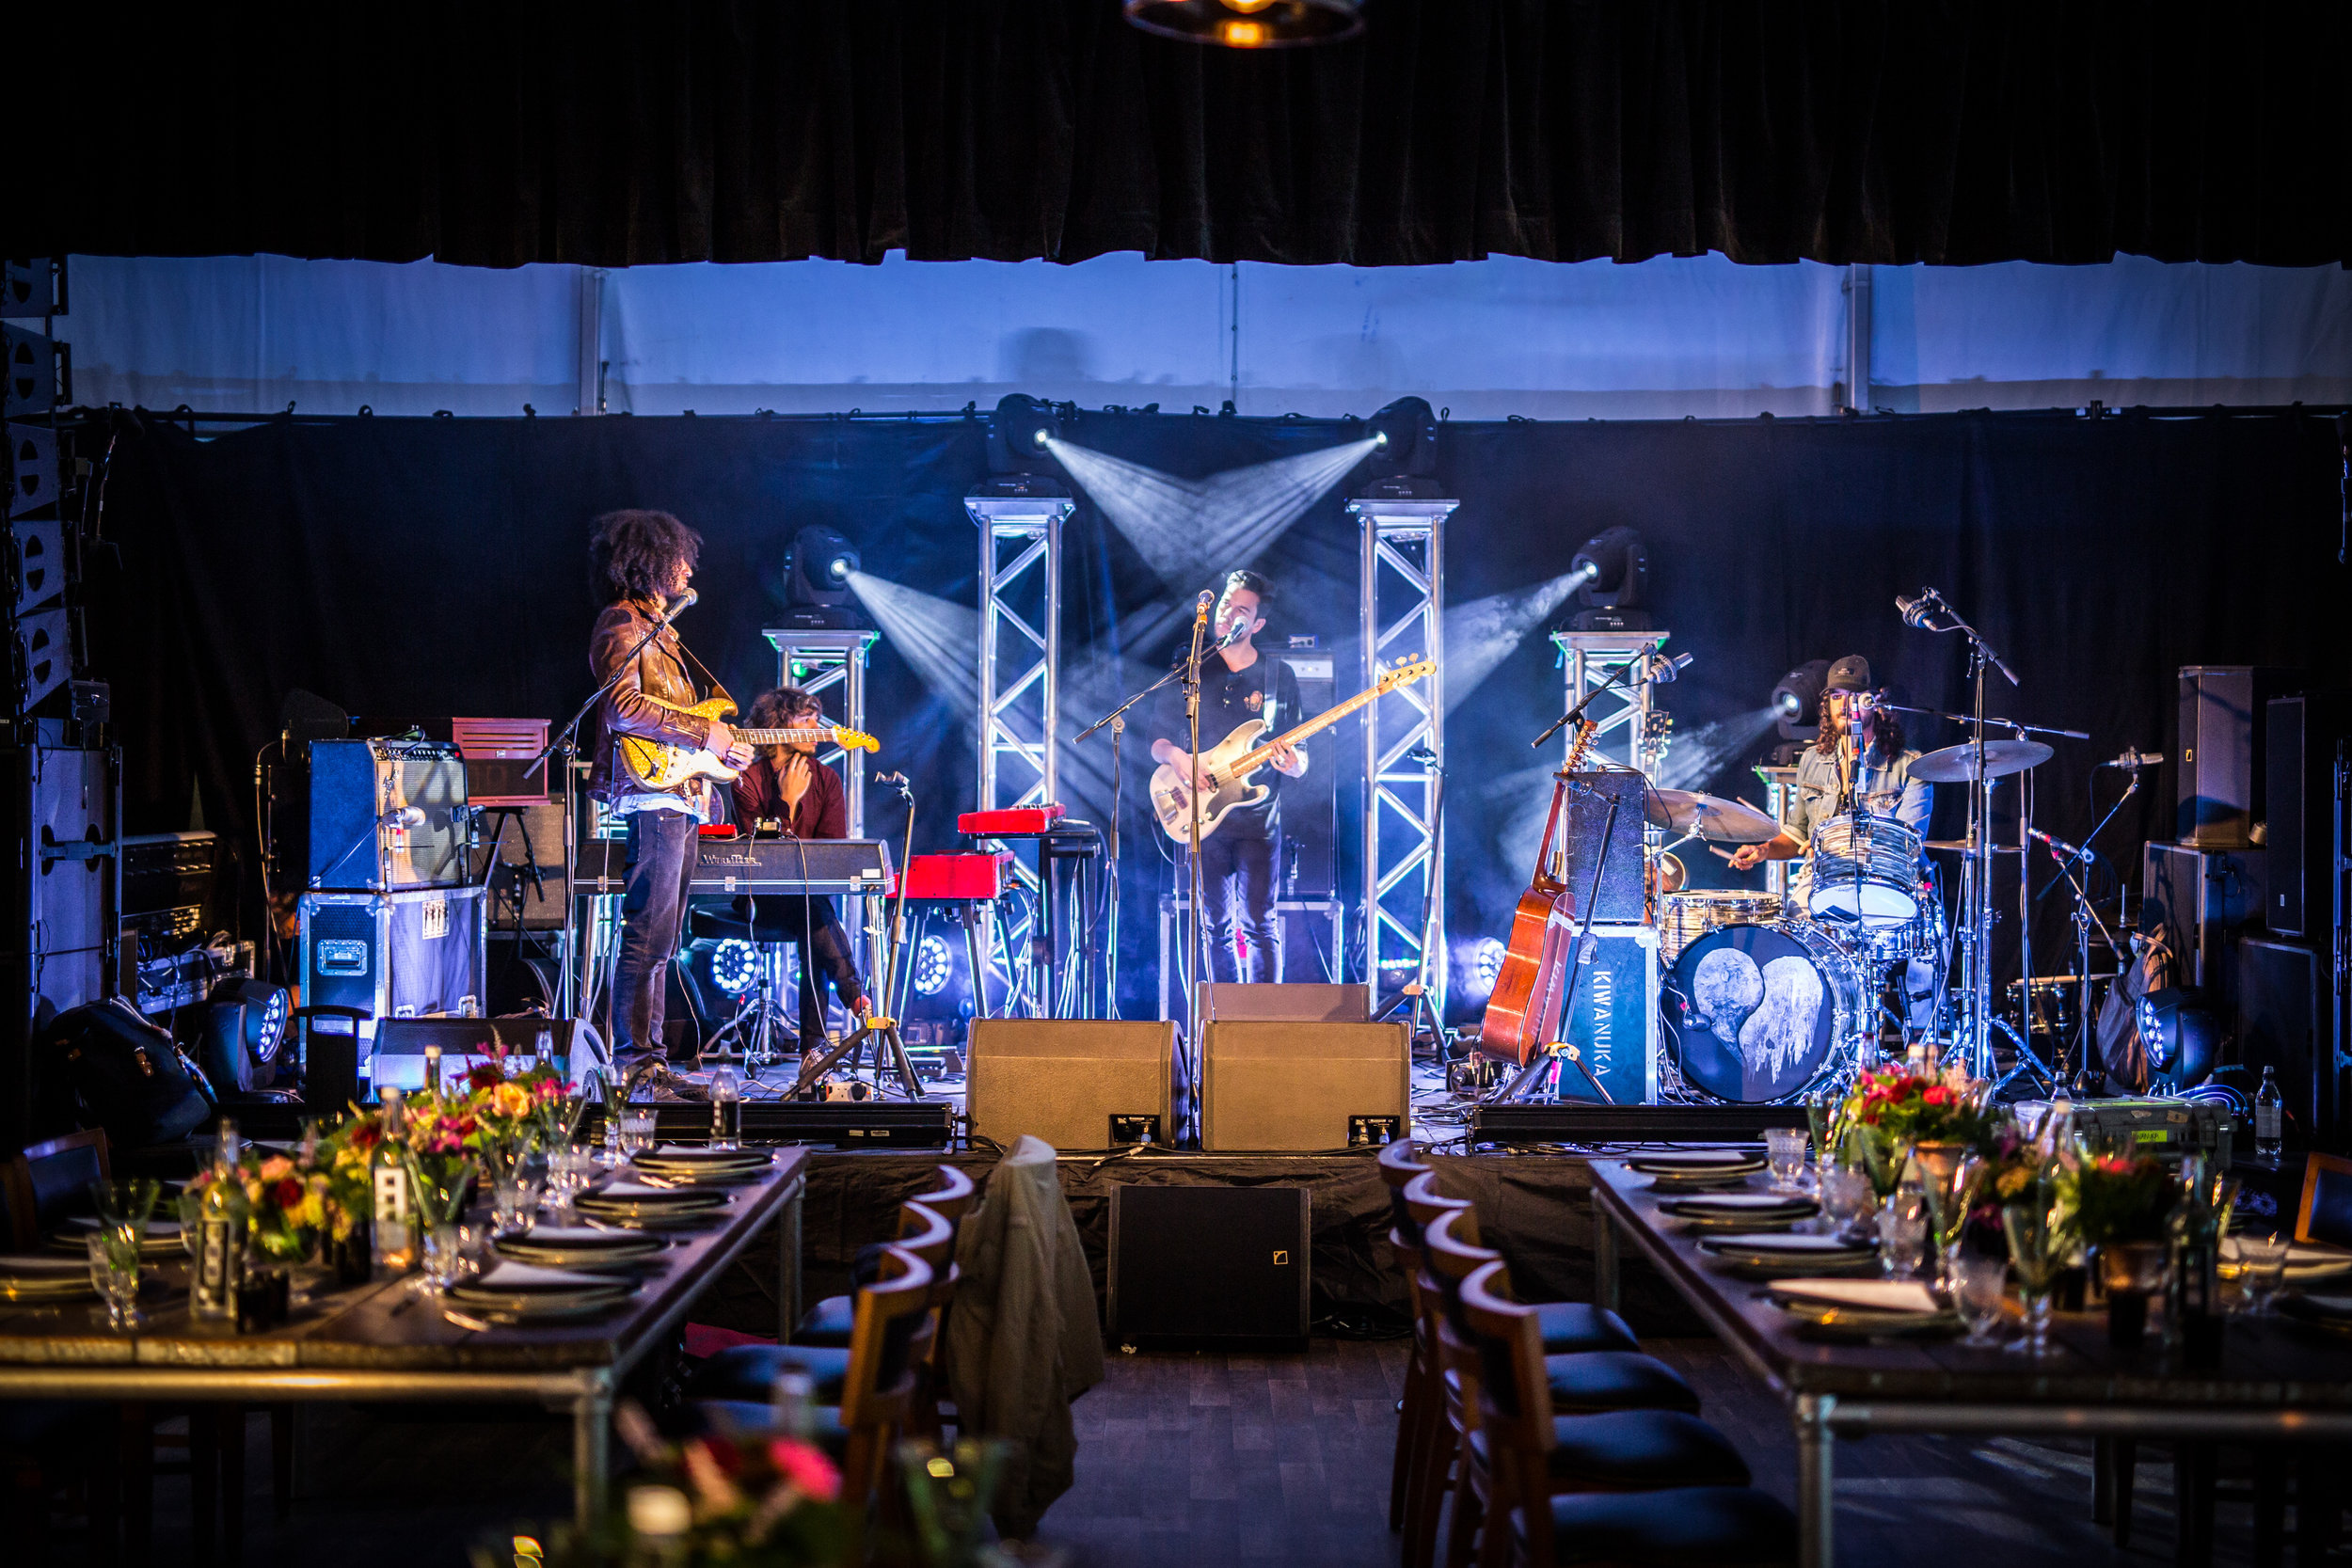
To add to our excitement… we weren’t just asked to coordinate one event, but MANY! Including: conference set-up, multiple breakfasts, lunches and dinners! We really had to get our creative juices going to produce different vibes in each area, while still making everything feel cohesive. The Four Seasons Hampshire wasn’t the worst palate to begin with J

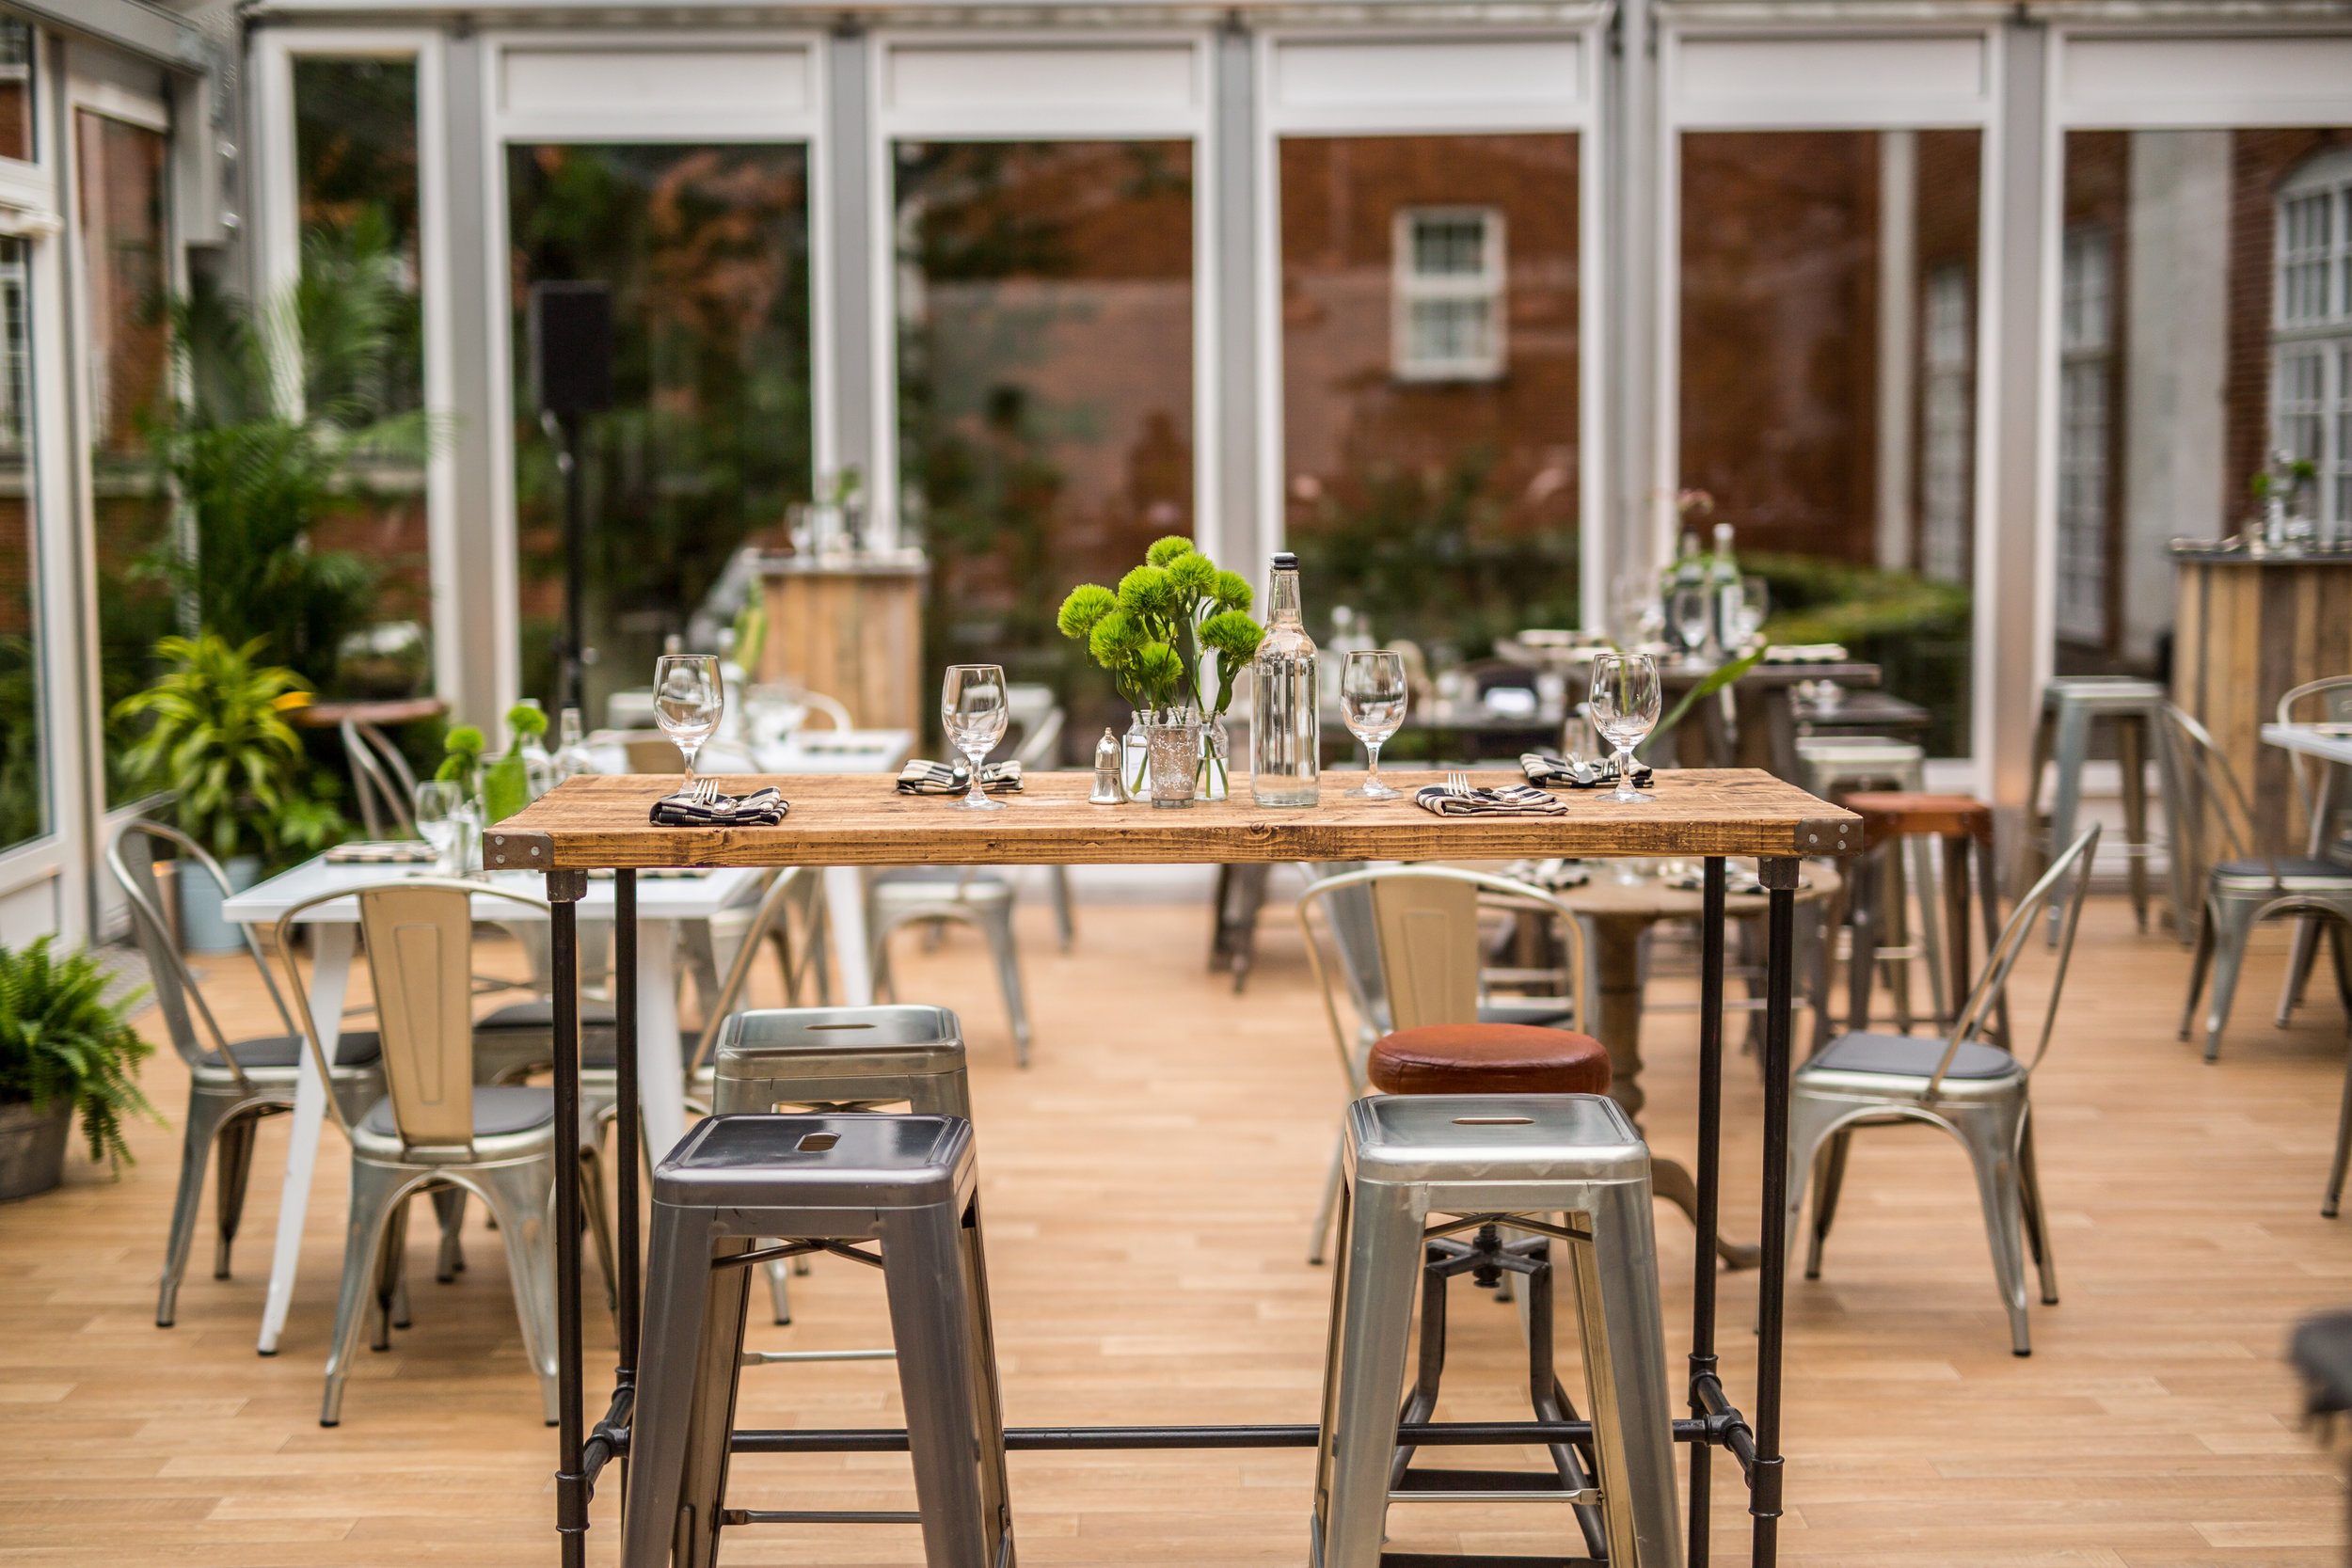
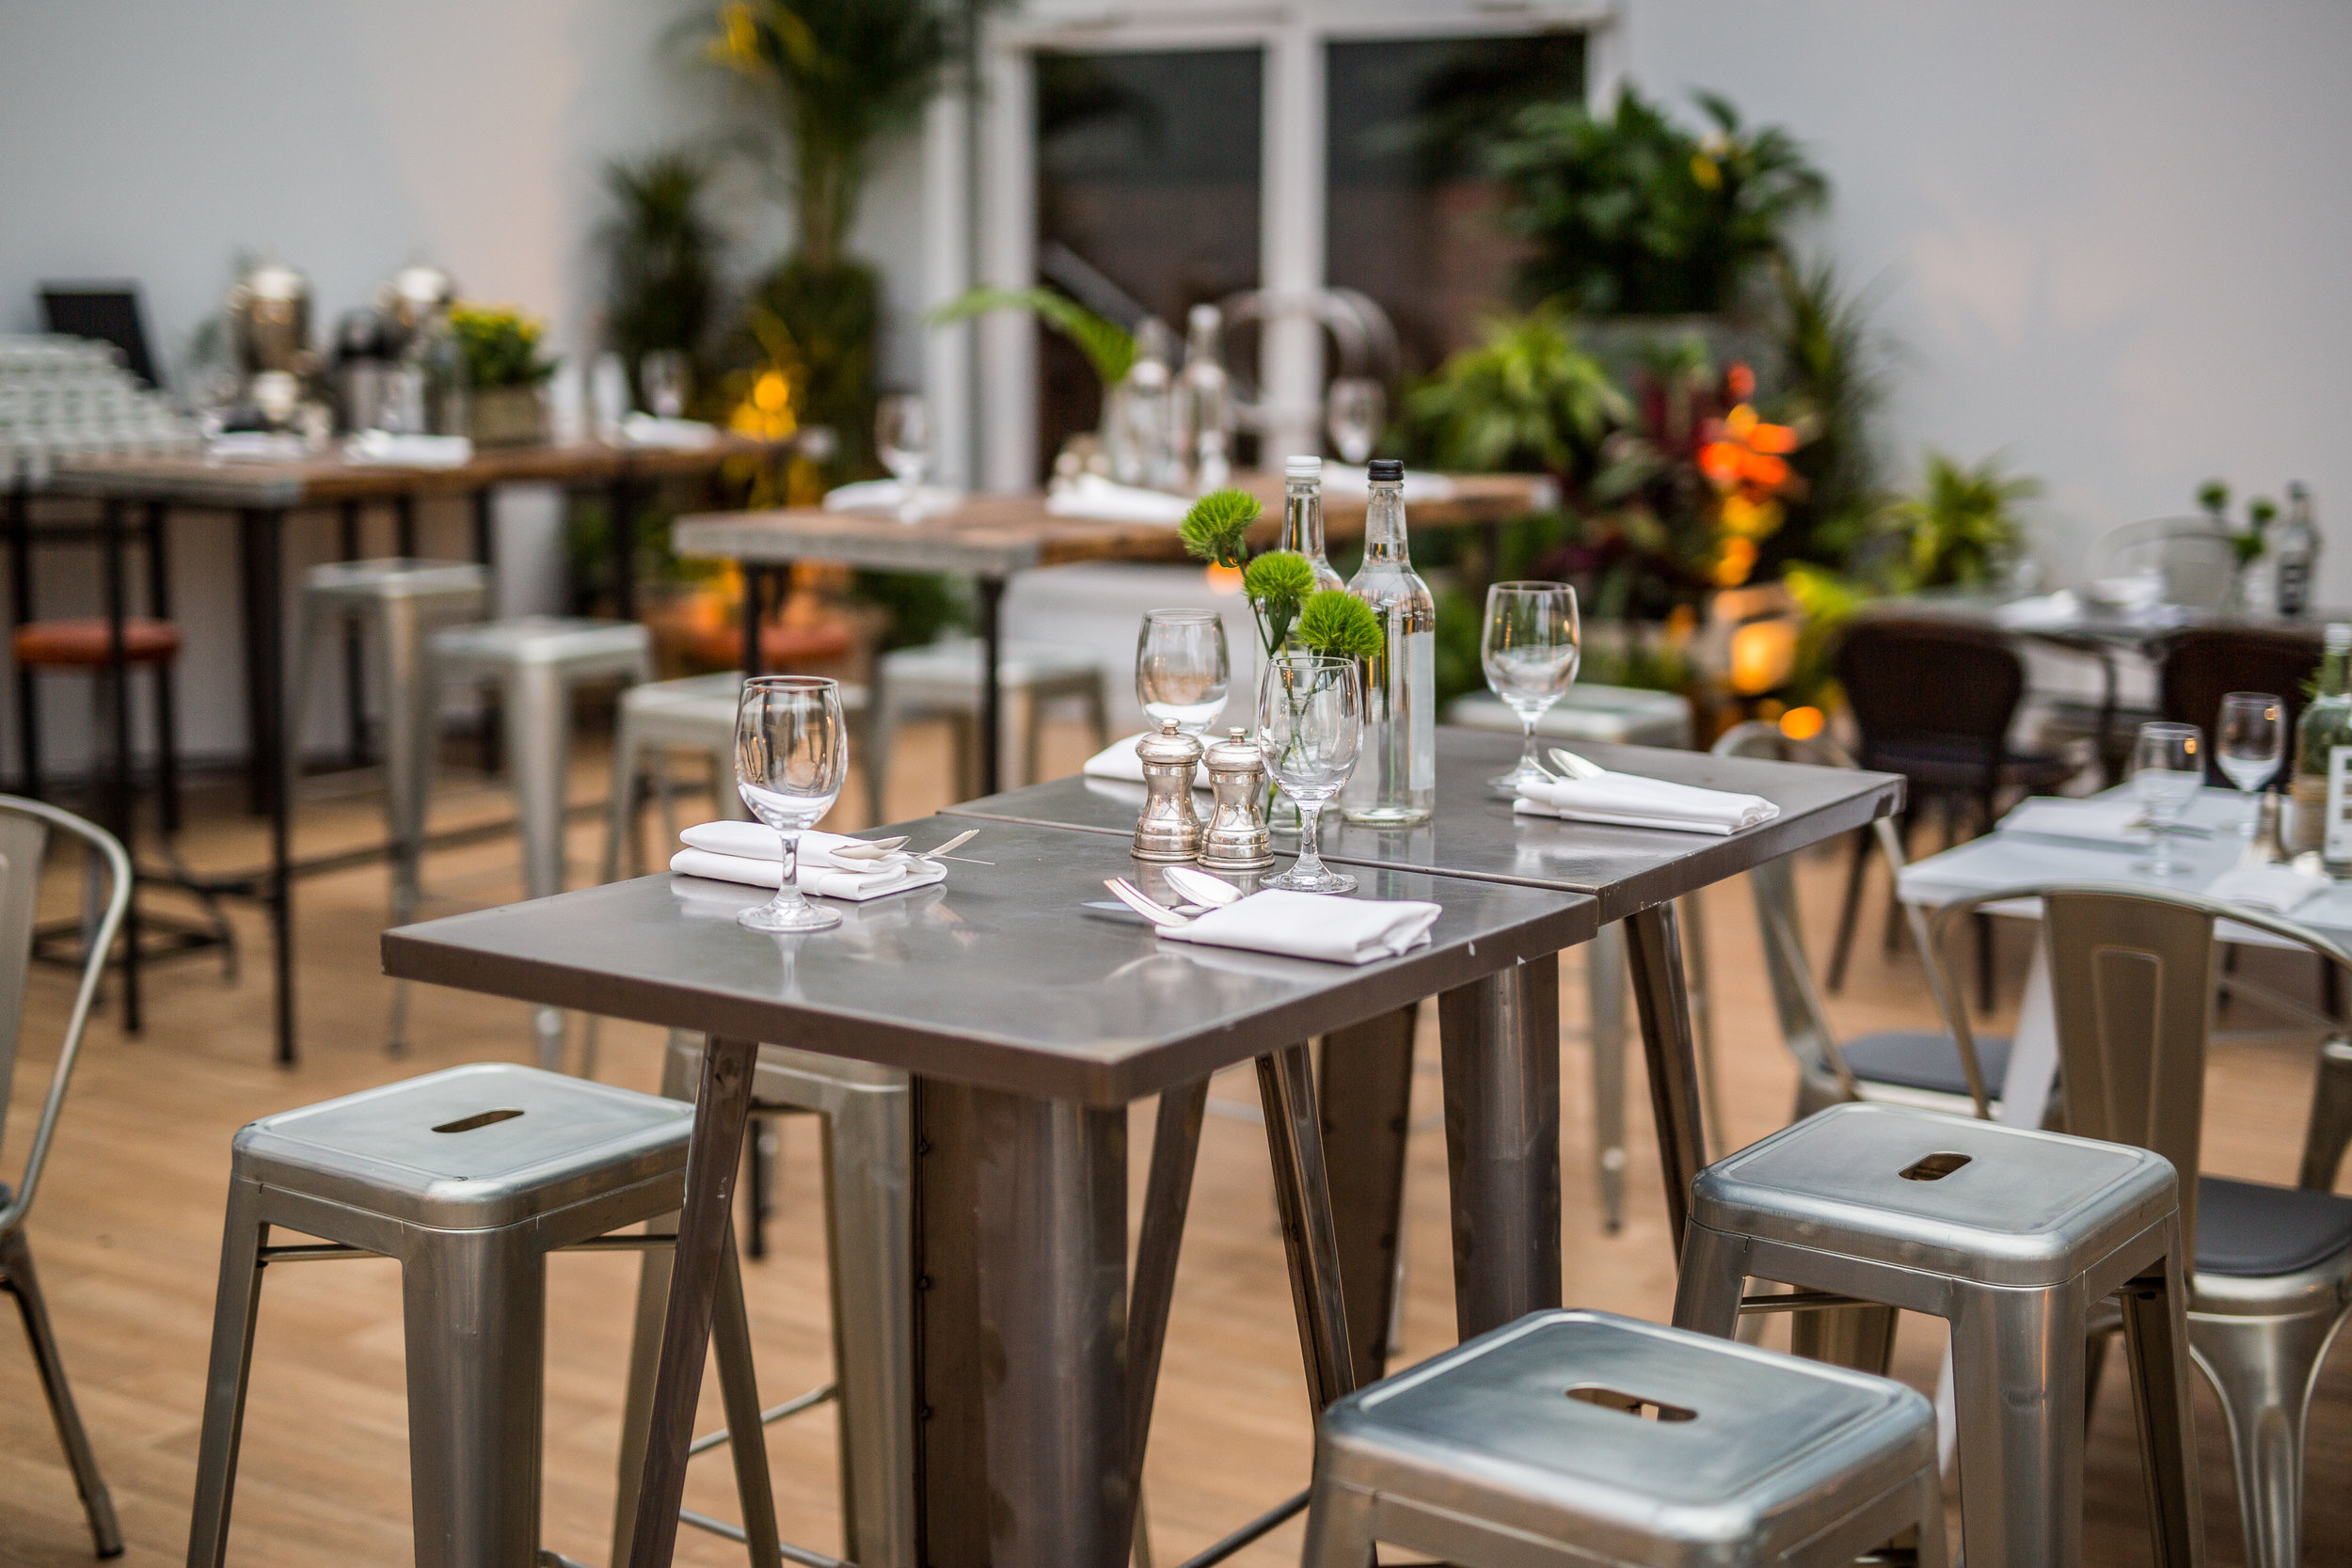
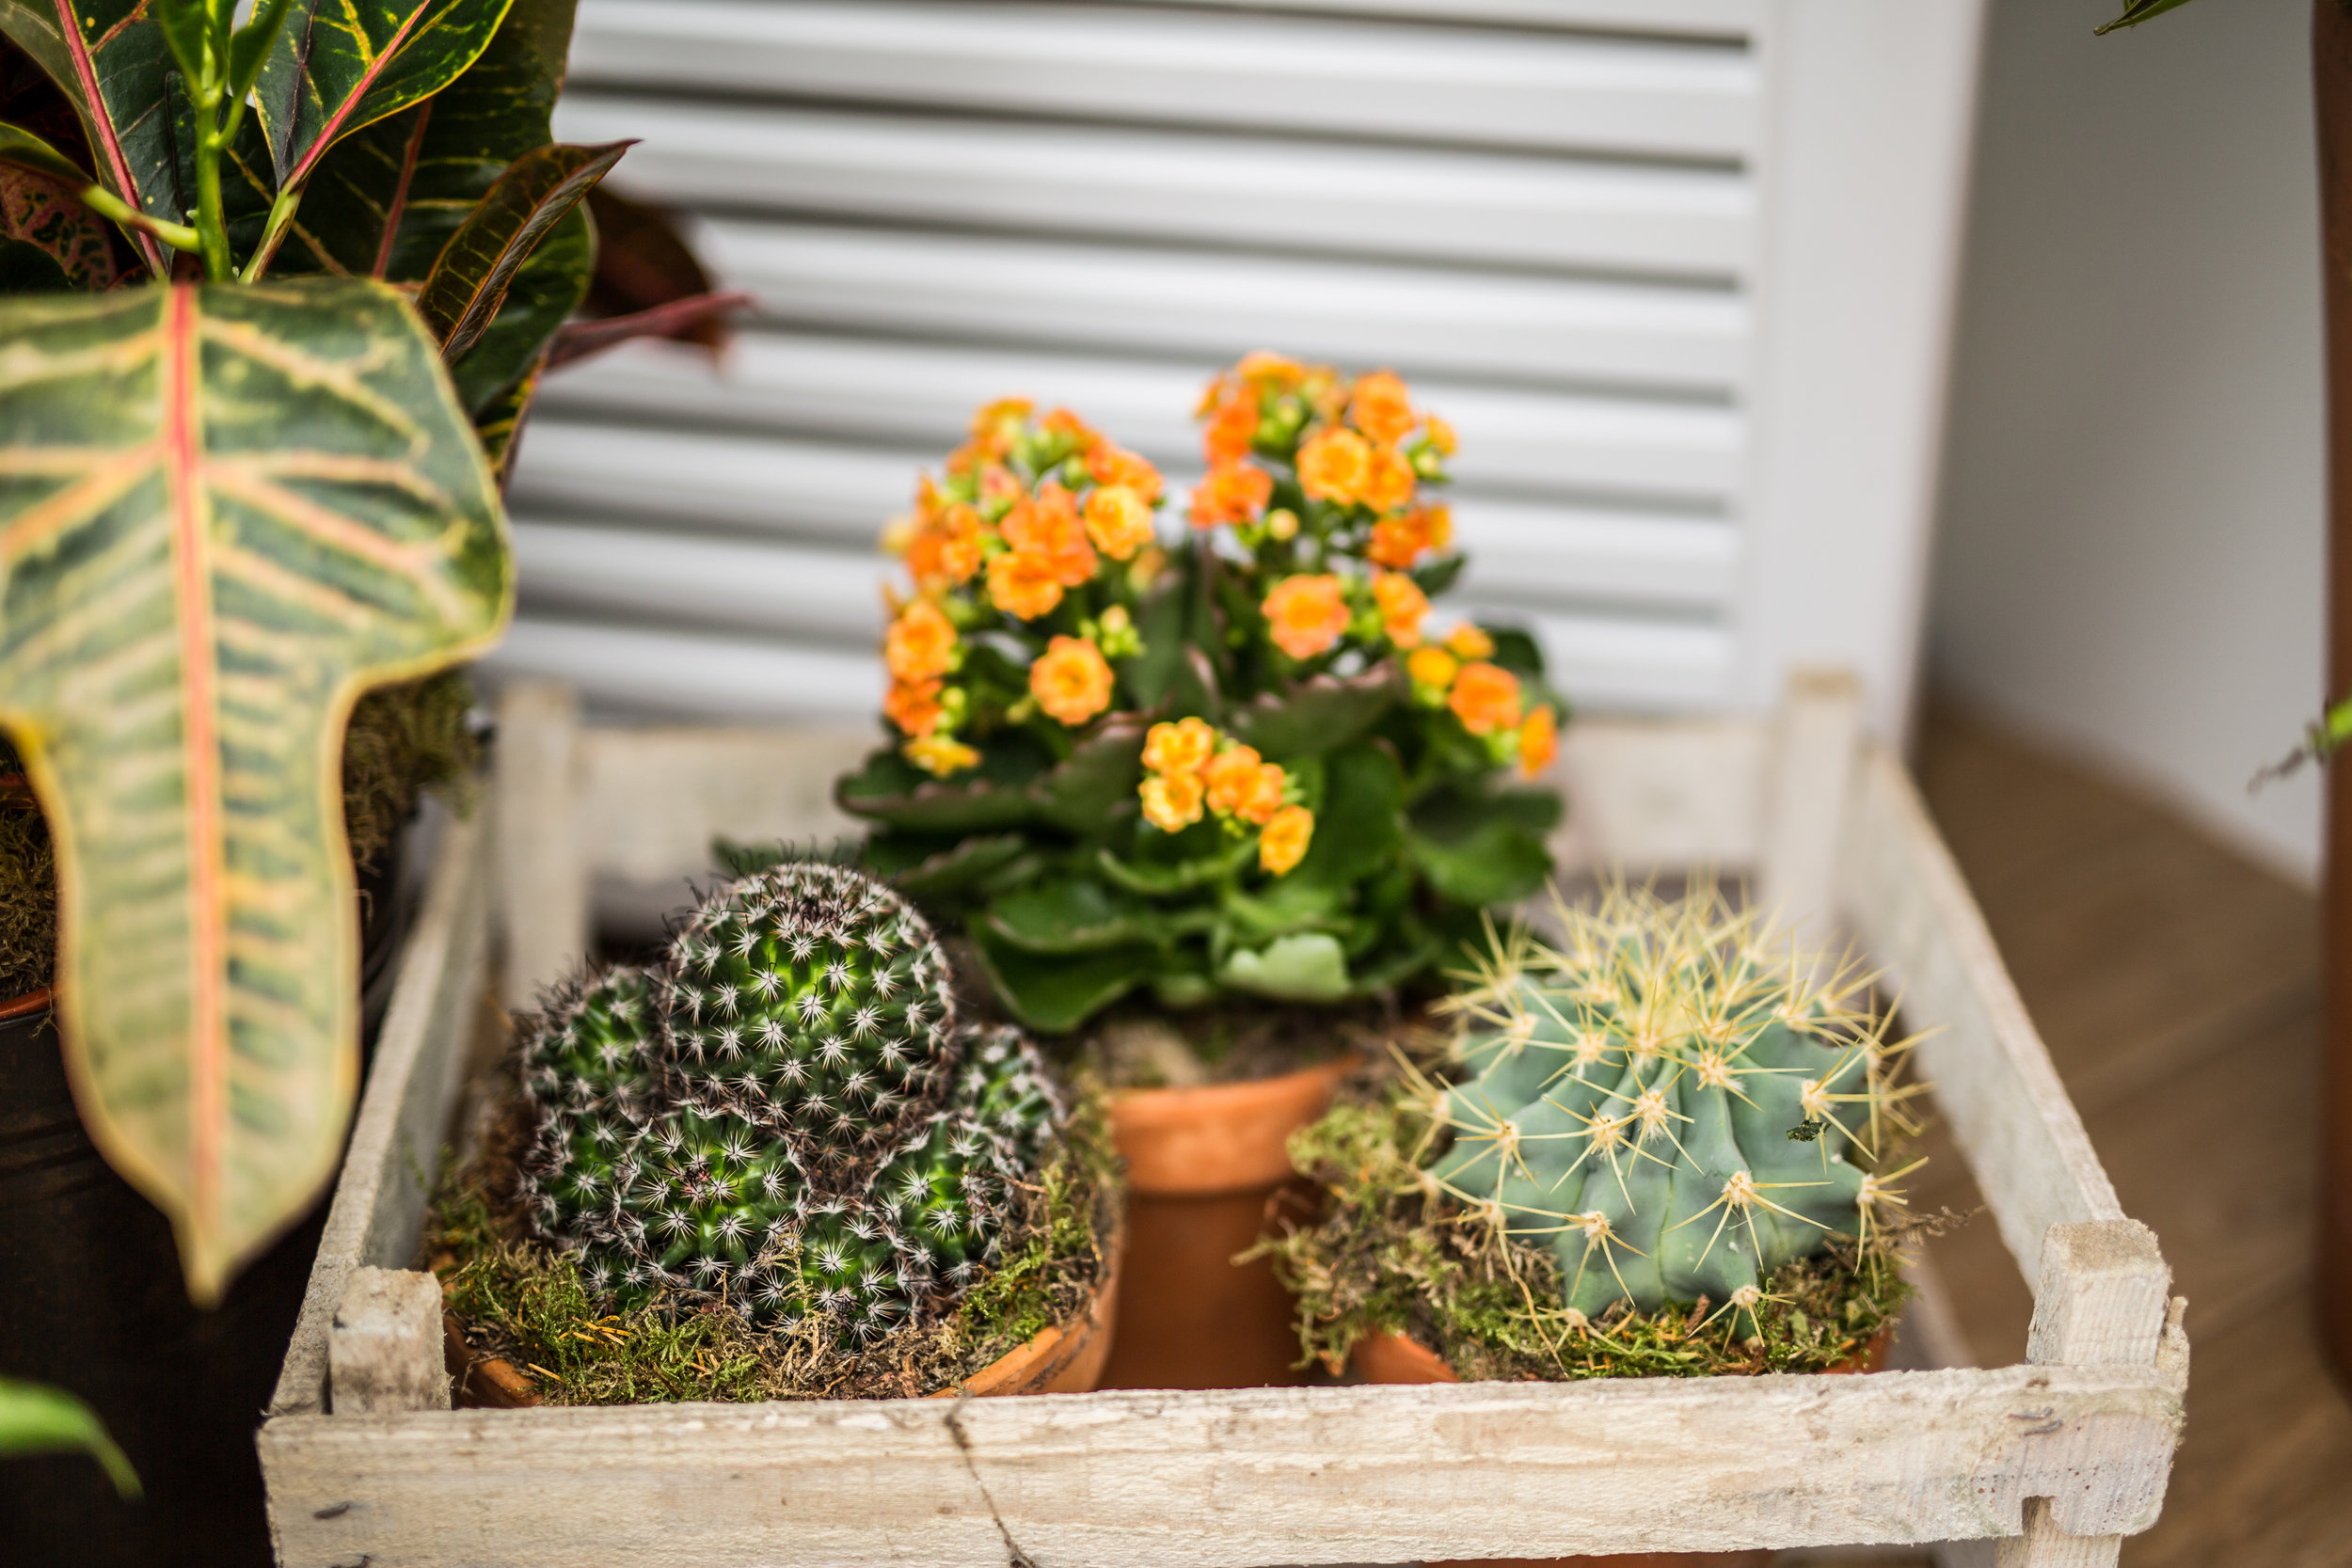
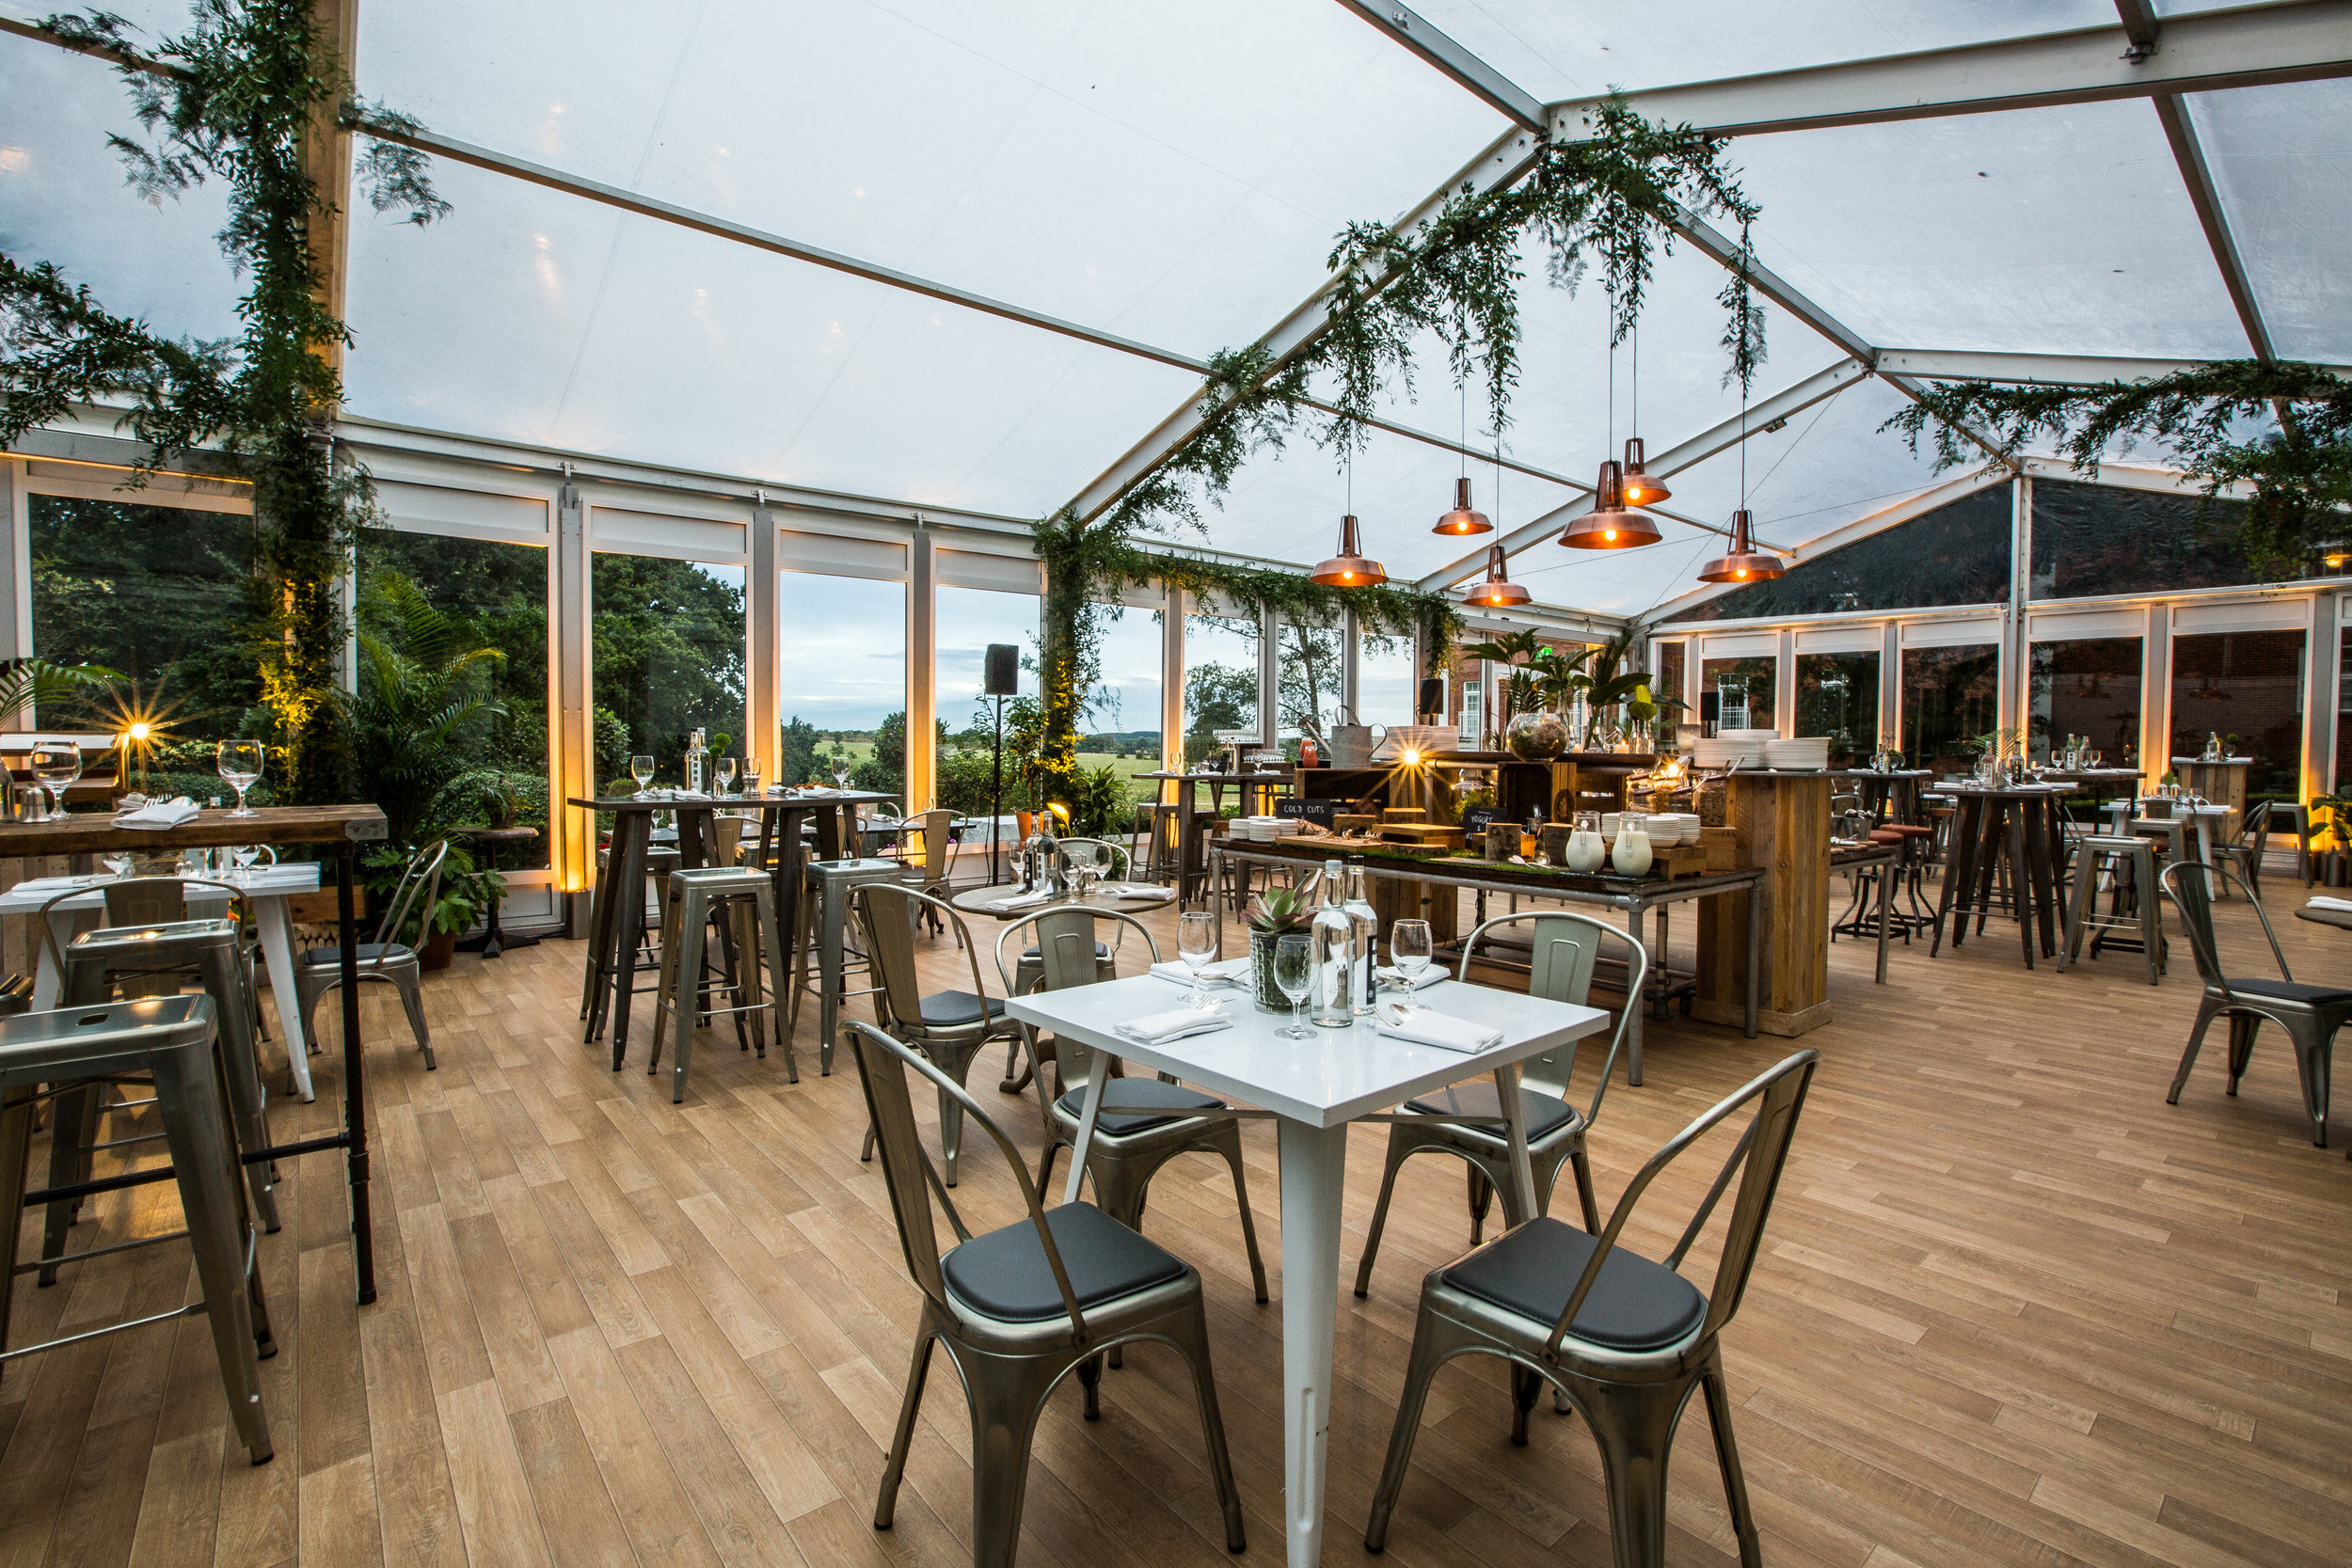
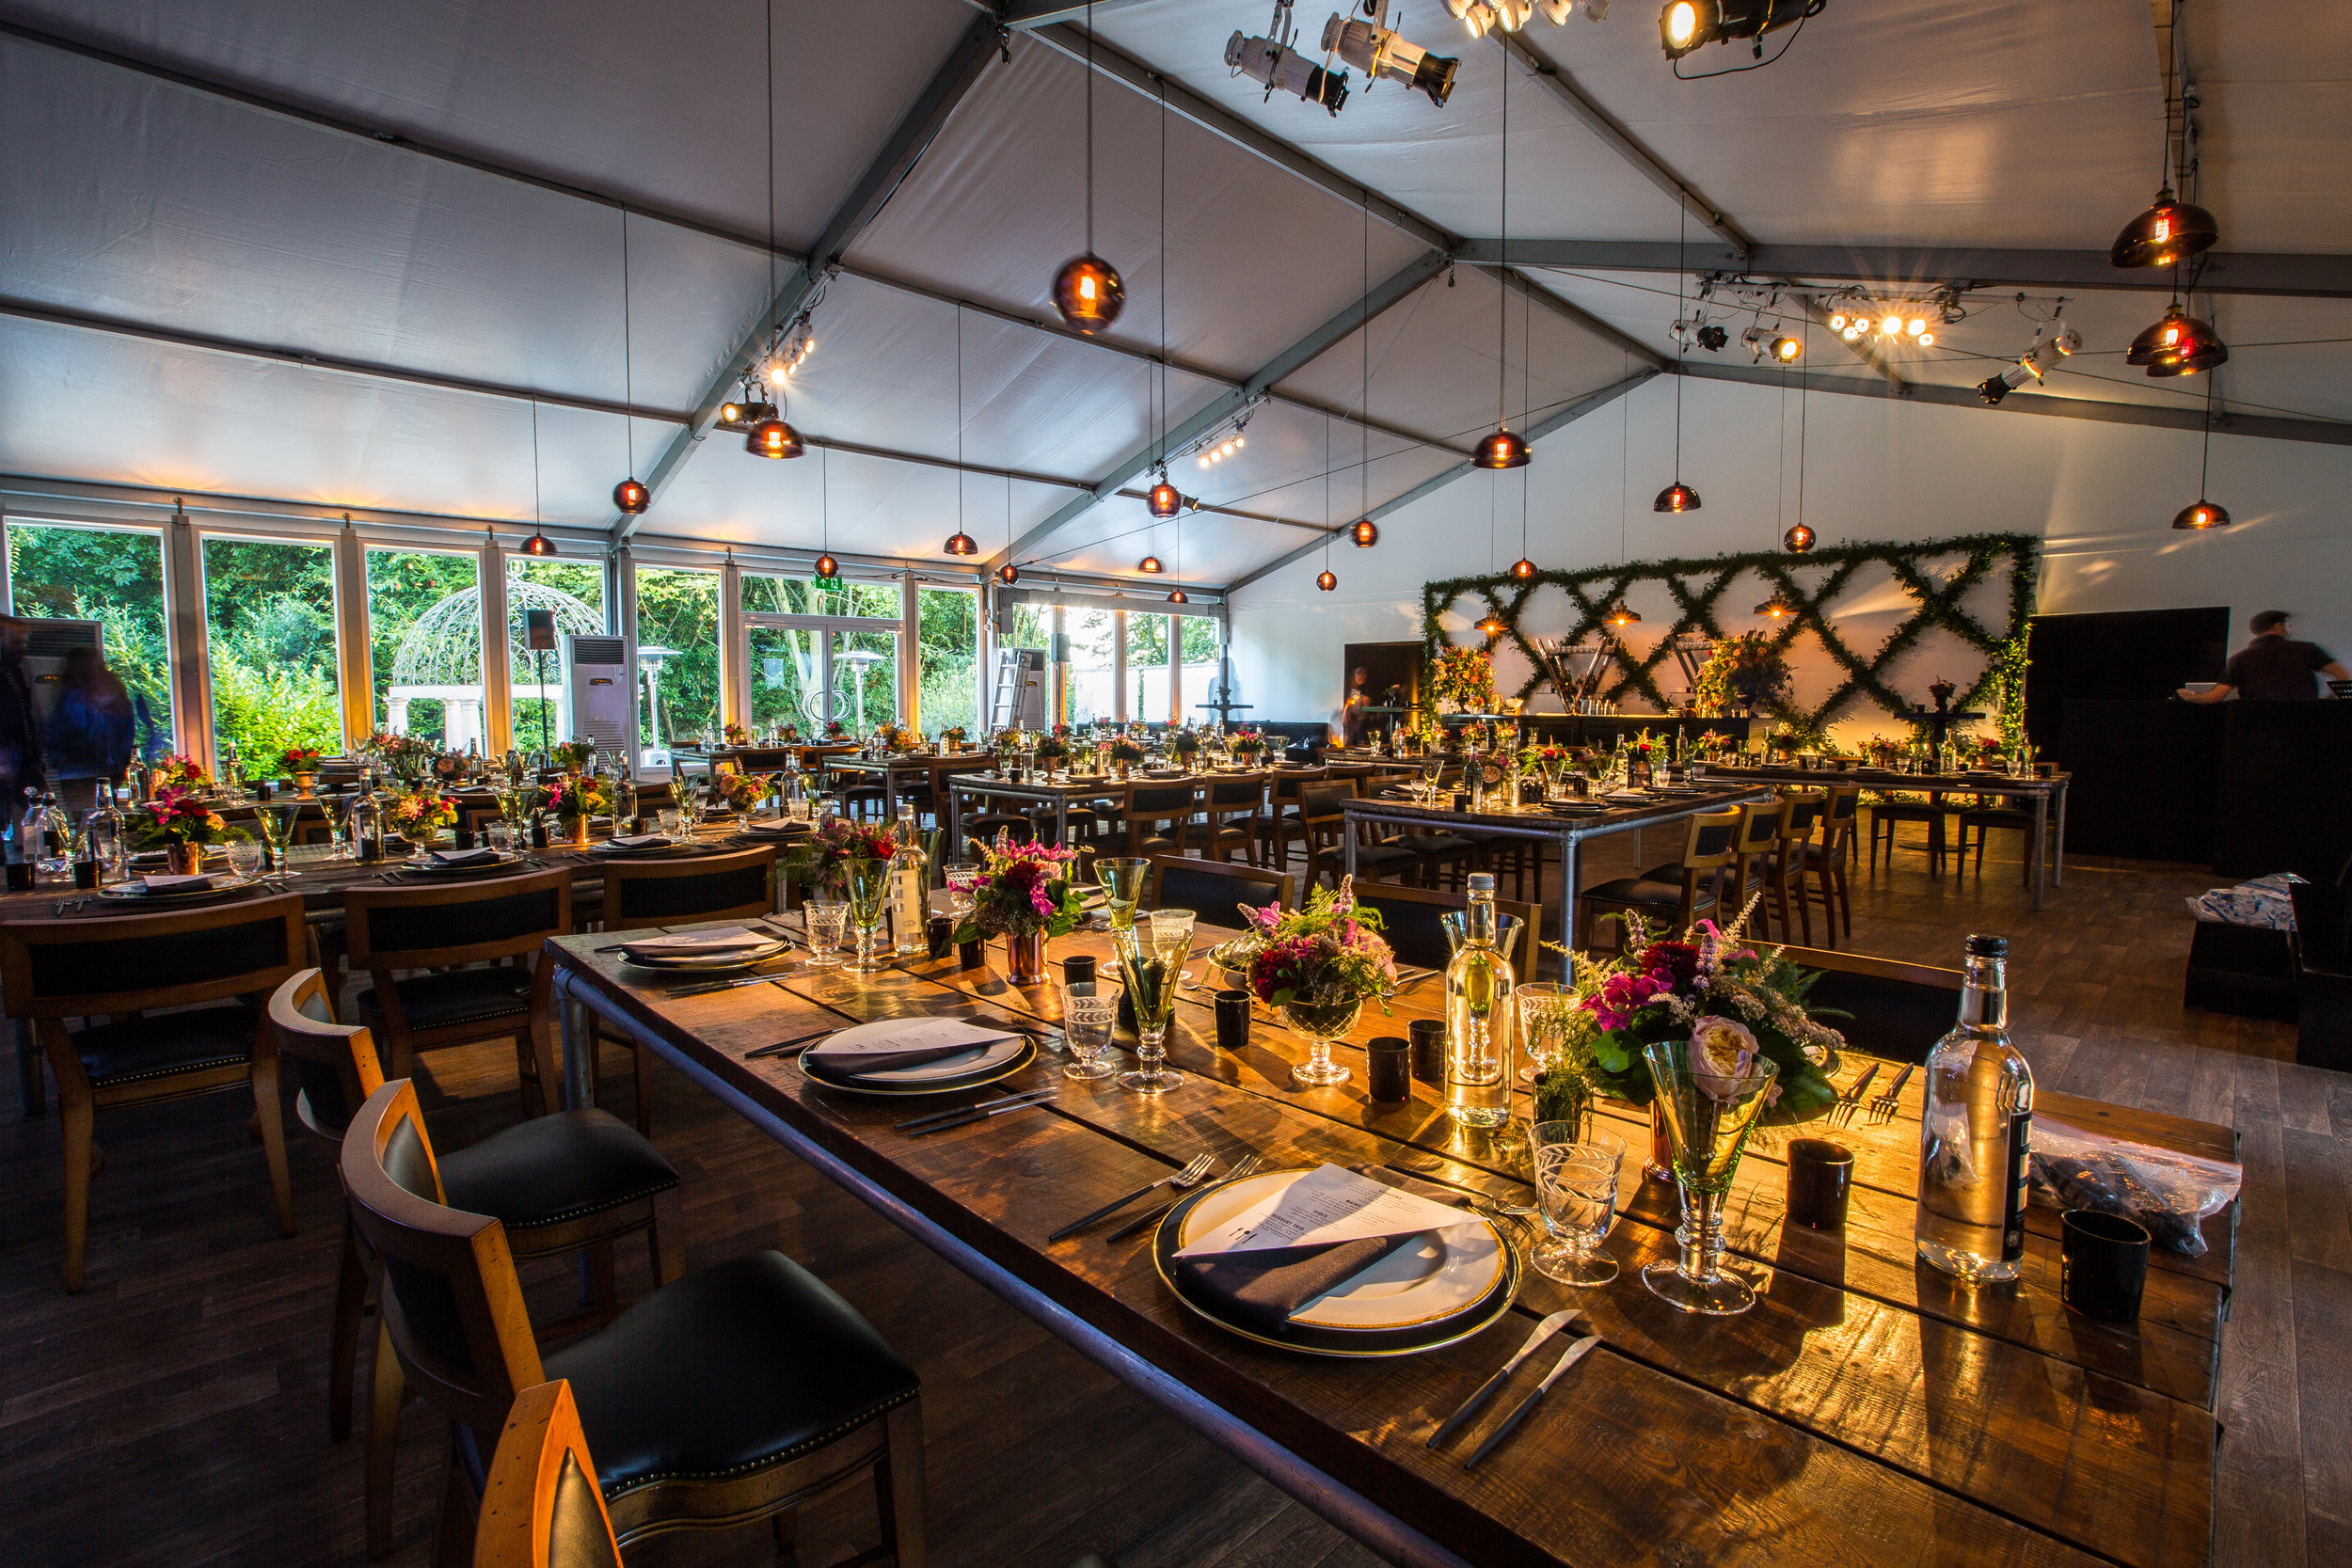
One of our most treasured designs, which we called “The Café”… was a custom pop-up green house/restaurant that we built from the ground up… literally! Berry Marquees really nailed our vision for this structure. Mixing in various woods and metal textures with tons of lush greenery made for a super chic and industrial feel! Blending high and low top seating for a casual and comfortable atmosphere. Purposefully, we decided on clear glass walls for our tent, to showcase the gorgeous views of London countryside! Needless to say we wanted to live in here… See the before picture to get an idea of what it looked like before we put our Lady Liberty touch on it :) 

AFTER

BEFORE

Even though the weather in London is really touch and go... we still wanted to give the guests an outdoor experience! We set up an organic, farm-to-table style lunch in the hotel’s already magical garden! We went for a very clean and minimalist vibe here, with all natural herbs to center the tables, to enhance the existing luscious surroundings.

For the main event, we wanted to create a sexy yet masculine mood… and I think we did just that! Combing different wood tones with modern black accents, adding in the jewel toned floral to spice it up. One of our obsessions at all of our events is a well thought out, intricate bar display! This one was no different… we couldn’t wait to see this installation come to life! A custom trained vine wall… the perfect backdrop for our classic bar! Lavender Green really came through and made our dreams come true! See for yourself!

twobytwo_Universal_A_R-354.jpg

UK EVENT VOCABULARY:

- To Rent = To Hire

- Tent = Marquee    

- Cocktail Table = Poseur Table    

- Gazebo = Pavilion                

- Restroom = Loo  

- Arugula = Rocket

- Eggplant = Aubergine

- Chips = French Fries

- Crisps = Chips

*** There are no outlets in the bathrooms, good luck blow-drying your hair

*** The sound an owl makes is TWIT TWOO   

Event Design & Coordination: Lady Liberty Events | Venue: Four Seasons Hampshire | Furniture Rental: Velvet Living | Furniture Rentals: Great Hire | Furniture Rental: Farley | Lighting: Wise Productions | Tent: Berry Marquee | Flowers: Lavender Green | Sound/AV: Creative Staging | Set Design/Build: Firecracker Works | Photographer: Two By Two | Photographer: Carsten Windhorst | Printed Items: Prim & Pixie 

Handmade Holiday

As the Holiday season was approaching, we wanted to think of a fun/creative/practical gift to send to our nearest and dearest clients, vendors and friends! What is something everyone can use... hhmm.... a DOORMAT! But not just any doormat... one with a personalized message that is completely unique to each household. Half the fun was figuring out what each one should say!

Then we were off to the hardware store to get our supplies. Let me tell you... these babies were a labor of love! Each one super time consuming, requiring very precise measuring, pining, and painting. The satisying feeling after the completeion of each one made it totally worth it!

Check out some of the before and after shots.

MATERIALS/SUPPLIES

Cricut Explore (you can absolutely use a stencil or hand cut designs that you desire)

Doormat (shape/size based on preference)

Poster Board

Sewing/Long Pins

Acrylic Paint (we recommend this over spray paint... we tried both)

Foam Paint Brushes (very important to have various sizes for difficult/fancy fonts)

Hair Paint Brushes (helps get the paint in between the bristles of the mat)

Pair of scissors

Yard Stick/Ruler

Paint Palate

Seelant Spray

STEPS

1. Make sure you have all of your supplies

2. Decide what you want your mat to say/design

3. Use a Cricut to cut out your artwork OR us a stencil OR cut out yourself

4. Decide placement of artwork on your mat

5. Use your yard stick/ruler to make sure it is straight/centered/symmetrical

6. Place sewing pins to hold your artwork in place. Pin in as many as you can, once you start painting the paper moves!

7. Begin painting with foam brush to initially get the paint on surface

8. Go over edges and fill in with hair paint brush

9. Pull off stencil and lay somewhere safe to dry

10. Once fully dry, spray a decent coat of clear gloss over the entire mat (not just artwork) to the seal the paint. 


The reactions we got from the recipients of these mats were amazing! People were touched that we took the time to create such a tailor-made thoughtful gift. Check out the finished products below. I only had to stand on a car to get the photos :) 

Magical Mermaid Grotto - 5th Birthday!

Definitely the 5th Birthday bash all little girls dream of! Pink, purple and mermaids... what's not to like? Hand crafted blowfish and jellyfish of various colors added to the playful marine vibe. This was only the beginning of the under-the-sea surprises that would unfold... 

These young ladies were dolled up to the nines... with custom sparkling mermaid tails, magical starfish wands and stylish fishtail braids. Once officially princesses of the sea, the girls got to have lunch in our lavish mermaid grotto... designed by yours truly. Completely immersed "under water" surrounded by twinkling lights, bubbles and of course thing-a-ma-bobs! The girls filled their bellies with ocean inspired tasty treats including; octopus hot dogs, crab enthused croissant sandwiches, hummus sand pales with seashell carrots, fish bait gold fish, sharks teeth cheese triangles, and much much more! 

We can't forget about the amazingly gorgeous mermaid birthday cake from Charm City. Even a real life mermaid made an appearance and led the girls in a magical treasure hunt where they were to find all of her lost jewelry and gold coins. Finally, to end this fairy-tale day, all the girls got to go home with a hand-sewn mermaid of their own, made by the birthday girl's very talented mommy. Such a special fun-filled day! 

Event Coordination/Design: Lady Liberty Events | Photography: Nicole Anderson & Alicia Cho | Invitation: Lady Liberty Events | Catering: Lady Liberty Events | Cake: Charm City Cakes | Braids & Kids Entertainment: Celebration Entertainment | Live Mermaid: Sheroes Entertainment | Event Rentals: Town & Country Rentals 

Rustic Bohemian Elegance

This wedding truly exuded the personalities of our bride and groom. We were so happy to bring both Candace & Mike’s fun little quirks to life on their special day.

A happy medium of playful/funky and romantic elegance made this celebration of love one of a kind. A moving ceremony officiated by a close friend made it that much more special... incorporating a sweet release of lace tied balloons to signify their everlasting love and adventures to come. Creating a custom dream catcher installation over the head table is still one of our favorite design details to date! Sparkling chandeliers hung in the lush trees over the dance floor and beautiful lounge vignettes surrounding made for a picturesque setting for all of the guests to dance the night away. Did we mention that the bride and groom hula hooped to their first dance… and not just any hula hoops… neon LED hula hoops! Yep… it was good. Check it out.

Photography: Braedon Flynn Photography | Cinematographer: Brinton Films | Florist: Moon Canyon Design | Wedding Dress: Monique Lhuillier | Bridesmaid Dresses: Bella Bridesmaids | Catering: Contemporary Catering | Bride Shoes: Jimmy Choo | Cake & Desserts: Sweet & Saucy Shop | Ceremony & Reception Music: Grant Shapiro | Ceremony & Reception Venue: Saddlerock Ranch | Event Rentals: Town & Country Rentals | Event Rentals: Found Vintage Rentals | Groom & Groomsmen Shoes: Custom Lakai | Linens: La Tavola | Printed Goods & Stationary: Prim & Pixie | Wedding Design/Coordination: Lady Liberty Events | Wedding Invitation: Minted